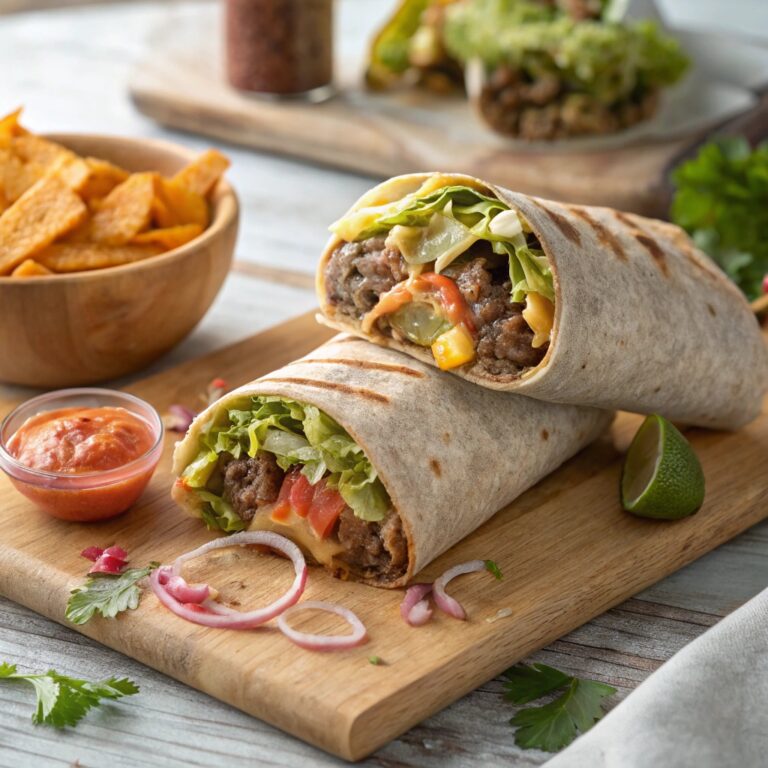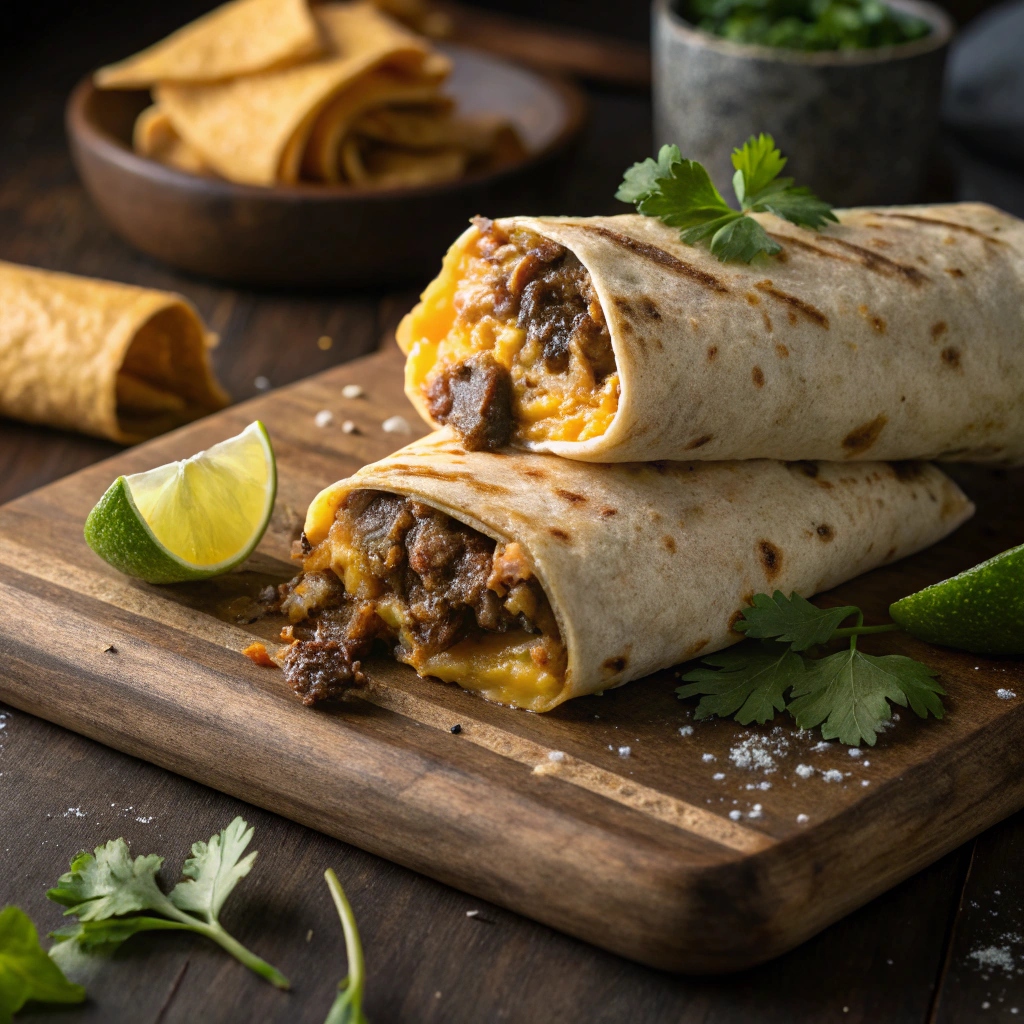
Cheesy Beef Wraps: 7 Best Tips for Cheesy, Meaty Goodness
Introduction
Did you know that 78% of Americans consider wraps to be a more convenient alternative to traditional sandwiches? If you’re looking for a meal that combines convenience with irresistible flavor, Cheesy Beef Wraps are the perfect solution. These savory, protein-packed bundles bring together tender seasoned beef and gooey melted cheese in a portable format that’s ideal for busy weeknights. Whether you’re feeding a hungry family or meal prepping for the week ahead, these Cheesy Beef Wraps deliver on both taste and simplicity, making them a go-to option for a flavorful dinner wrap experience.
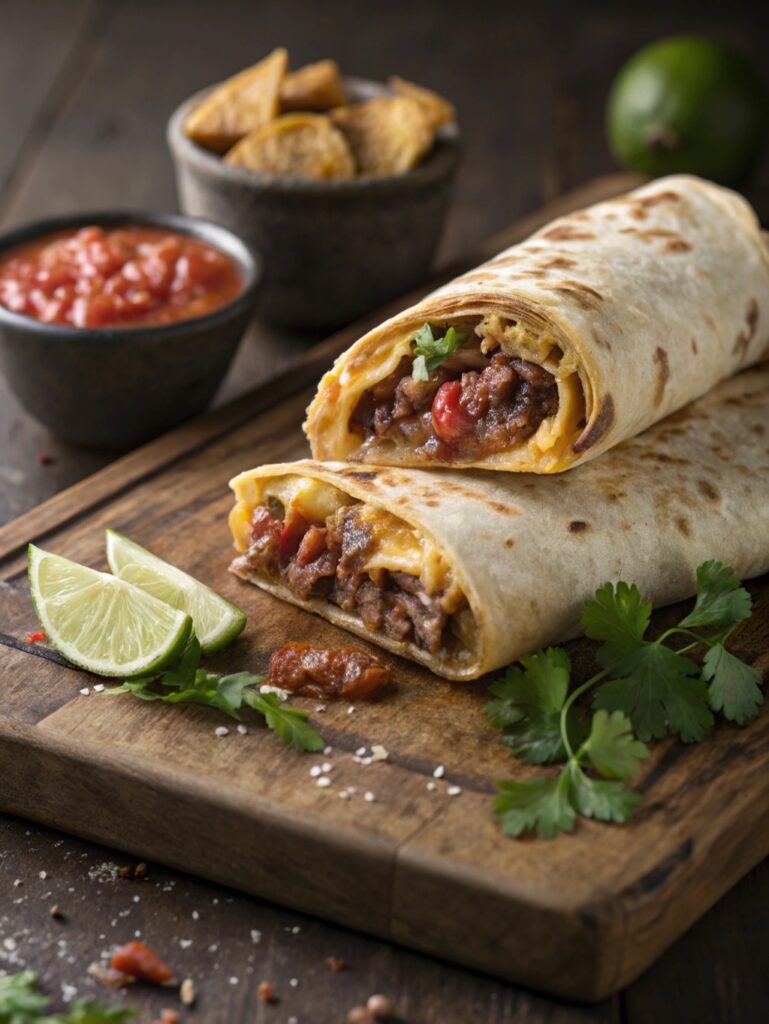
Table of Contents
Why is it Perfect for You?
🔹 Perfect for busy professionals who need quick dinner ideas without sacrificing flavor.
🔹 Ideal for families with picky eaters – the cheesy goodness appeals to kids while adults appreciate the protein.
🔹 Great for meal prep enthusiasts – they can be made ahead and reheated for delicious wrap recipes all week.
🔹 Suitable for customization based on dietary preferences while maintaining the core beef and cheese wrap appeal.
🔹 Offers a balanced meal with protein, carbs, and vegetables all in one convenient package.
Ingredients List
Transform your mealtime with these flavorful beef and cheese wraps using these simple yet impactful ingredients:
- 1 pound lean ground beef (substitute ground turkey for a lighter option)
- 2 tablespoons olive oil
- 1 medium onion, finely diced (sweet or yellow work beautifully)
- 2 cloves garlic, minced (fresh delivers the most aromatic punch)
- 1 red bell pepper, thinly sliced
- 1 tablespoon taco seasoning (or make your own with cumin, chili powder, and paprika)
- 1/2 teaspoon salt (adjust to taste)
- 1/4 teaspoon black pepper
- 1 cup shredded cheddar cheese (substitute pepper jack for extra heat)
- 1/2 cup Mexican blend cheese for that perfect melt
- 6 large flour tortillas (wheat tortillas work well for a healthier option)
- 2 tablespoons fresh cilantro, chopped
- 1 avocado, sliced (optional but adds creamy texture)
- Sour cream for serving (Greek yogurt makes a great substitute)
Preparation Time and Servings
Preparation Time: 15 minutes
Cooking Time: 12 minutes
Total Time: 27 minutes
Servings: 6 wraps
This quick dinner idea comes together 30% faster than traditional taco recipes while delivering maximum flavor. The beauty of these cheesy beef wraps is that most of the prep work can be done while the beef cooks, making the process even more efficient for busy weeknights.
Step 1: Prepare the Beef Filling
Heat olive oil in a large skillet over medium-high heat. Add the diced onions and cook until translucent, about 3-4 minutes. Add the minced garlic and cook for 30 seconds until fragrant. Introduce the ground beef, breaking it apart with a wooden spoon, and cook until browned (approximately 5-6 minutes). The key to flavorful beef is allowing it to develop a slight caramelization on some edges.
Step 2: Season to Perfection
Once the beef is browned, drain excess fat if necessary. Add the taco seasoning, salt, and pepper, stirring well to coat the meat evenly. The aroma that rises from the pan at this point tells you you’re on the right track to creating delicious wrap recipes! Add the sliced bell peppers and cook for 2 minutes until slightly softened but still vibrant and crisp.
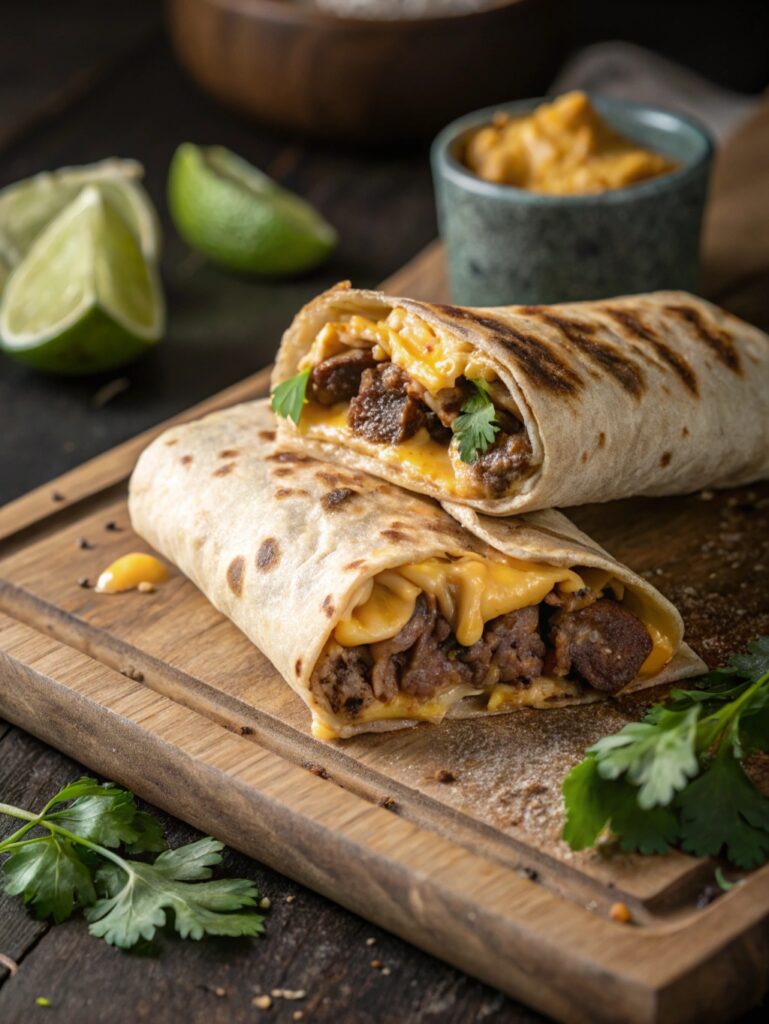
Step 3: Create the Cheese Magic
Reduce heat to low and sprinkle the cheddar cheese evenly over the beef mixture. Cover the skillet and allow it to melt for 1-2 minutes, creating that irresistible gooey texture that makes these melted cheese wraps so crave-worthy. Remove from heat once melted.
Step 4: Assemble Your Wraps
Warm the tortillas slightly to make them more pliable (15 seconds in the microwave works perfectly). Place a generous scoop of the cheesy beef mixture in the center of each tortilla. Add a sprinkle of the Mexican blend cheese, some fresh cilantro, and avocado slices if using. The layering order matters for the perfect bite!
Step 5: Roll with Expertise
Fold in the sides of the tortilla, then roll from the bottom up, tucking in the sides as you go to create a secure wrap. For an extra-crispy exterior, you can briefly toast the sealed wraps in a dry skillet or panini press to achieve golden perfection and ensure the cheeses fully meld together.
Nutritional Information
Each flavorful dinner wrap provides a balanced nutritional profile that satisfies hunger while delivering essential nutrients. Based on using lean ground beef and standard flour tortillas:
Calories per person
| Nutrient | Amount per Serving |
|---|---|
| Calories | 420 |
| Protein | 25g |
| Carbohydrates | 32g |
| Fat | 21g |
| Fiber | 3g |
| Sodium | 680mg |
Healthier Alternatives for the Recipe
Transform these beef and cheese wraps into an even healthier meal with these smart substitutions:
- Replace ground beef with lean ground turkey or chicken to reduce saturated fat while maintaining protein content.
- Use whole wheat or spinach tortillas for added fiber and nutrients.
- Opt for reduced-fat cheese varieties to lower the overall calorie content without sacrificing the essential melty texture.
- Add extra vegetables like spinach, corn, or black beans to increase fiber and nutrient density.
- Use Greek yogurt instead of sour cream for a protein-rich condiment with less fat.
Serving Suggestions
Elevate your cheesy beef wraps experience with these complementary sides and presentation ideas:
- Serve with a fresh side salad dressed with lime vinaigrette for a refreshing contrast.
- Pair with corn salsa or pico de gallo for added texture and brightness.
- Offer a selection of toppings (guacamole, salsa, lime wedges) for personalization.
- Cut wraps in half on the diagonal and stand them up for an appealing visual presentation.
- For a complete meal, add a side of Mexican-style rice or cilantro-lime cauliflower rice.
Common Mistakes to Avoid
🔸 Overfilling the tortillas, which leads to difficult wrapping and potential tearing.
🔸 Skipping the draining step after cooking the beef, resulting in soggy wraps.
🔸 Using cold tortillas that crack during rolling – always warm them first!
🔸 Adding wet ingredients like salsa directly in the wrap, which creates sogginess; serve on the side instead.
🔸 Rushing the cheese-melting process – patience yields that perfect gooey consistency.
🔸 Under-seasoning the beef – taste and adjust flavors before assembling.
🔸 Not allowing the wraps to rest briefly before cutting, which helps ingredients set together.
Storing Tips for the Recipe
Make the most of your beef and cheese wraps with these practical storage solutions:
For meal prep, store the beef mixture separately from the tortillas for up to 3 days in an airtight container in the refrigerator. When ready to serve, reheat the filling, then assemble fresh wraps for the best texture. If you’ve already assembled wraps, wrap them individually in aluminum foil before refrigerating – this prevents them from becoming soggy and makes reheating easier.
To freeze, wrap each assembled (but not yet heated) wrap tightly in plastic wrap, then foil, and freeze for up to 2 months. Reheat from frozen in a 350°F oven for 20-25 minutes or until heated through for a convenient freezer meal option.
Conclusion
Cheesy Beef Wraps represent the perfect intersection of convenience, flavor, and satisfaction. By following our seven expert tips, you’ll create melty, meaty perfection that works for lunch, dinner, or even as a hearty snack. The versatility of these wraps means they can be customized to suit any taste preference while maintaining their core appeal of savory beef and gooey cheese. Try this recipe today and discover why these flavorful dinner wraps have become a staple in countless households looking for quick, delicious meal solutions.
FAQs
Can I make these cheesy beef wraps ahead of time?
Yes! Prepare the filling up to 3 days ahead and store it separately from the tortillas. Assemble just before serving for the freshest results.
How can I make these wraps spicier?
Add diced jalapeños to the beef mixture, use pepper jack cheese, or incorporate a teaspoon of chipotle in adobo sauce for heat with smoky depth.
Are these wraps suitable for freezing?
Absolutely! Wrap assembled (but not heated) wraps individually, freeze for up to 2 months, and reheat from frozen at 350°F for 20-25 minutes.
Can I use corn tortillas instead of flour tortillas?
While possible, corn tortillas are less pliable and may crack. If using them, double-layer them and warm thoroughly before filling.
What’s the best cheese for the meltiest wraps?
A combination of cheddar and Monterey Jack provides the perfect balance of flavor and melt factor. Avoid aged hard cheeses that don’t melt as readily.
Contact Us
Contact us at [email protected], and we’ll get back to you as soon as possible.
Share your experience with us
OOLALA
This turned out so awesome they look like they came from a exspensive bakery.
Just a question
So what about the grease from the meat? Should I use the leanest meats or is the grease give more flavor.
What about a meatloaf on top of veggies ? Would that work?
Ingredients list good, directions lacking
There were great details on quantities of ingredients I should use, but the recipe didn’t tell me the cook time. Also, mentioned in the section about “common mistakes” that you need to let it chill enough but doesn’t direct you in the recipe that you need to let it chill. More details would be helpful
Dressing is perfect!
Not a big fan of mayo, loved the Greek yogurt swap. Reduced garlic a bit. Dressing was delish!
Best coffee cake- ever!!
This recipe was not the easiest to follow due to how it was written. It requires a lot of back and forth from instructions to the lists of ingredients but oh, hey, the end result is totally worth the effort! Mouthwatering and delicious plus it’s a pretty presentation.