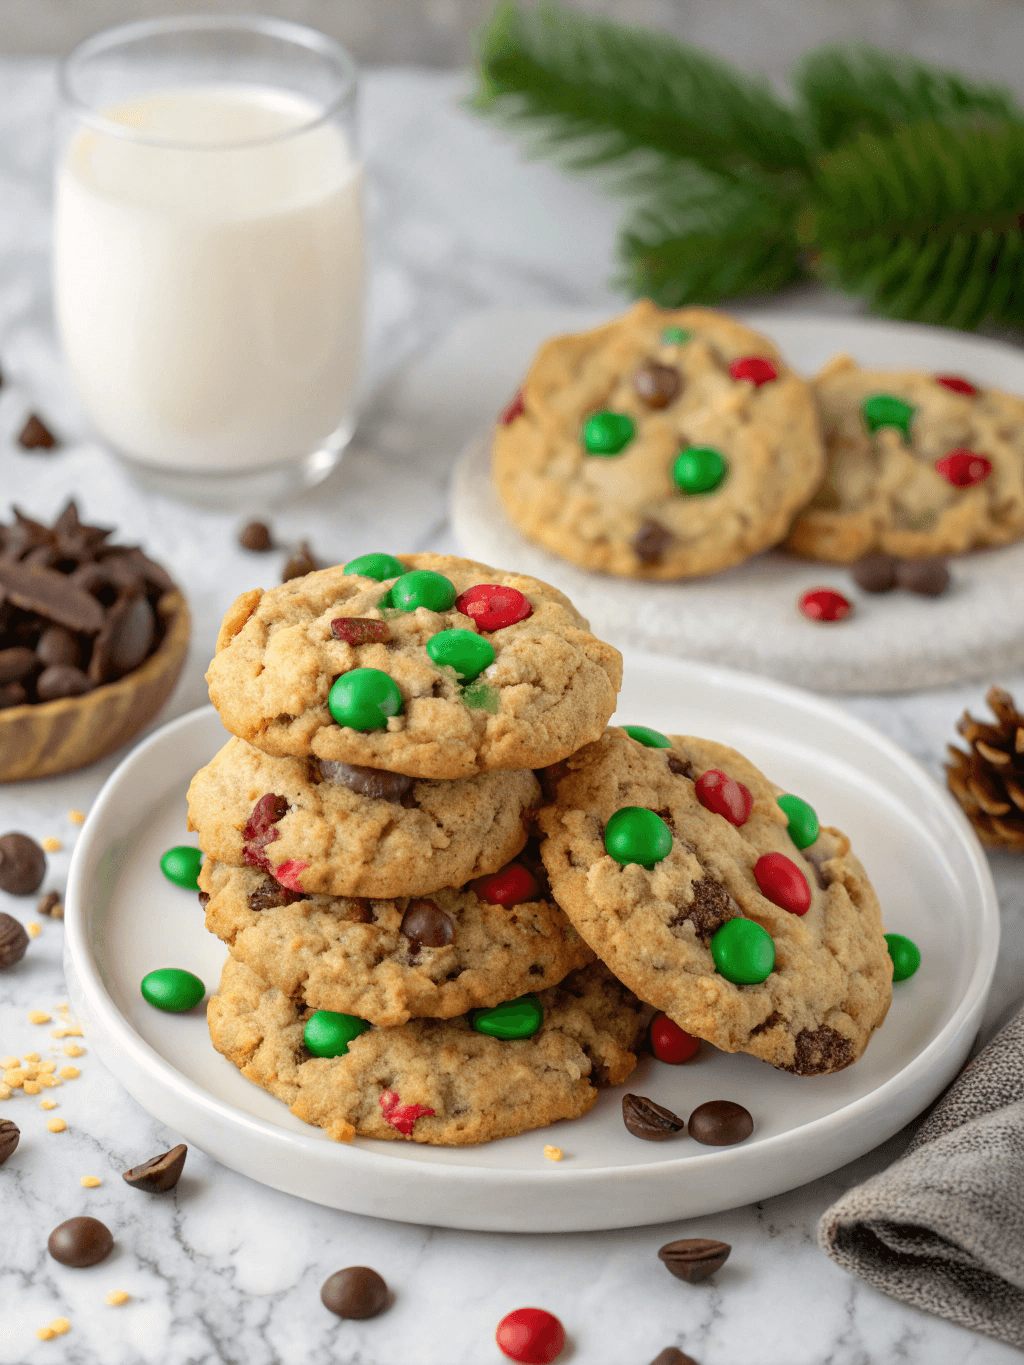
Christmas Monster Cookies: Easy & Delicious Recipe to Make
A Holiday Tradition in Every Bite
In my kitchens around the world, the holidays are a symphony of complex flavors and precise techniques. Yet, when I return home, my heart craves the simple, unadulterated joy of baking with family. There’s a certain magic in a recipe that is both delightfully chaotic and utterly delicious, one that welcomes hands of all sizes to participate. That, my friends, is the spirit captured in these incredible Christmas Monster Cookies. They are a glorious, texture-rich celebration, packed with oats, peanut butter, chocolate, and festive colors. This isn’t just a cookie; it’s an experience- a chewy, chunky, perfectly sweet memory in the making. Let’s delve into what makes this recipe a true holiday masterpiece you’ll return to year after year.
Why You’ll Love This Recipe
- Incredibly Flavorful and Textured: Each bite is a delightful mix of chewy oats, creamy peanut butter, melted chocolate, and a satisfying candy crunch.
- Fantastically Forgiving: This is a rustic, “everything but the kitchen sink” style cookie, which means it’s nearly impossible to get wrong.
- Quick and Easy: From mixing bowl to cooling rack in under 30 minutes, it’s the perfect recipe for busy holiday schedules.
- Perfect for Gifting: These cookies are sturdy, look stunning, and pack beautifully into tins or bags for teachers, neighbors, and friends.
Preparation Time and Servings
This recipe is designed for a quick turnaround, making it one of my go-to fast bakes during the festive season.
⏱️ Preparation Time: 15 minutes
🔥 Cooking Time: 12-14 minutes
⏰ Total Time: 27-29 minutes
💡 Difficulty: Easy
👥 Servings: 24-30 cookies
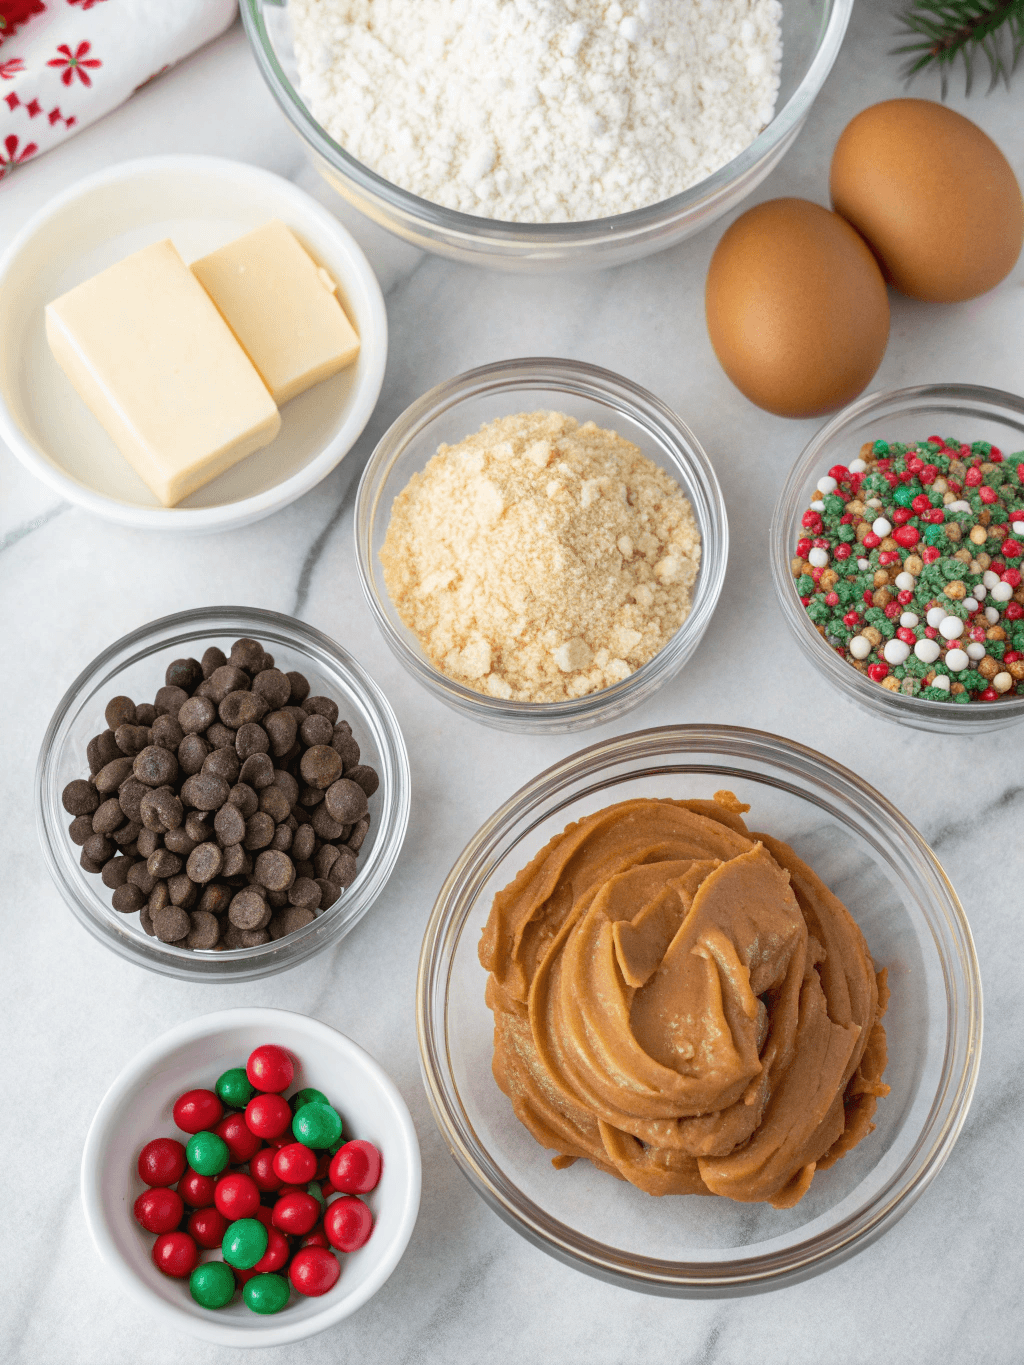
Ingredients List
- 1/2 cup (113g) unsalted butter, softened to room temperature
- 1 cup (220g) packed light brown sugar
- 1/2 cup (100g) granulated sugar
- 1/2 cup (125g) creamy peanut butter
- 2 large eggs
- 1 teaspoon pure vanilla extract
- 1 1/2 cups (120g) old-fashioned rolled oats
- 1 cup (125g) all-purpose flour
- 1 teaspoon baking soda
- 1/2 teaspoon salt
- 1 cup (170g) semi-sweet chocolate chips
- 1 cup (200g) red and green holiday M&M’s, plus extra for decorating
Step-by-Step Instructions
- Preheat and Prepare: Preheat your oven to 350°F (175°C). Line two large baking sheets with parchment paper to prevent sticking and ensure even baking.
- Cream the Fats and Sugars: In a large mixing bowl or the bowl of a stand mixer, cream together the softened butter, brown sugar, and granulated sugar until the mixture is light and fluffy, about 2-3 minutes.
- Incorporate Wet Ingredients: Beat in the peanut butter until well combined. Add the eggs one at a time, beating well after each addition. Stir in the vanilla extract.
- Combine Dry Ingredients: In a separate medium bowl, whisk together the all-purpose flour, old-fashioned oats, baking soda, and salt.
- Mix the Dough: Gradually add the dry ingredient mixture to the wet ingredients, mixing on low speed until just combined. Be careful not to overmix at this stage.
- Fold in the Goodies: Gently fold in the chocolate chips and holiday M&M’s using a spatula. The dough will be thick and chunky, which is exactly what you want for perfect Christmas Monster Cookies.
- Scoop and Bake: Drop rounded tablespoons of dough (about 2 tablespoons each) onto the prepared baking sheets, leaving about 2 inches of space between each cookie. For a bakery-style look, gently press a few extra M&M’s onto the tops of the dough balls.
- Bake to Perfection: Bake for 12-14 minutes, or until the edges are golden brown but the centers are still soft. They may look slightly underdone in the middle, but they will continue to set on the hot pan.
- Cool Completely: Let the cookies cool on the baking sheets for 5 minutes before transferring them to a wire rack to cool completely. This step is crucial for achieving that perfectly chewy texture.
Expert Tips for Success
- Use Room Temperature Ingredients: Softened butter and room temperature eggs create a smoother, more uniform dough emulsion, leading to a better cookie texture.
- Do Not Overbake: The secret to a chewy monster cookie is pulling it from the oven when the center is still soft. It will firm up as it cools, locking in that desirable texture.
- Chill the Dough (Optional but Recommended): If your kitchen is warm or you find the dough is too sticky, chilling it for 30 minutes will make it easier to handle and prevent the cookies from spreading too much.
- Measure Flour Correctly: Spoon the flour into your measuring cup and level it off with a knife. Scooping directly from the bag compacts the flour, leading to dry, dense cookies.
Common Mistakes to Avoid
Prevent common issues with these simple tips:
- Overmixing the batter: This leads to a dense, tough texture instead of a light and fluffy one. Stop mixing as soon as the flour is incorporated.
- Incorrect oven temperature: Always use an oven thermometer for accuracy, as ovens can vary. Consistent heat is key for consistent results.
- Skipping the resting time: Allowing the cookies to rest on the hot baking sheet for 5 minutes is crucial as it allows them to set properly.
- Using the wrong pan size: Overcrowding the pan can cause cookies to merge and bake unevenly. Give them space to spread and shine.
Storing Tips for the Recipe
Keep your Christmas Monster Cookies fresh and delicious with these storage solutions:
- Short-term storage: Keep in an airtight container at room temperature for up to 5 days. Adding a slice of bread to the container can help maintain softness.
- Refrigeration: While not recommended as it can dry them out, you can store them in an airtight container in the fridge for up to a week.
- Freezing: Wrap baked cookies individually or stack with parchment paper in a freezer-safe bag. They will keep for up to 3 months. Thaw at room temperature.
- Make-ahead option: Prepare the cookie dough, roll it into balls, and freeze on a baking sheet. Once solid, transfer to a freezer bag. You can bake them directly from frozen; just add 2-3 minutes to the baking time.
Frequently Asked Questions (FAQs) about Christmas Monster Cookies
Can I make these cookies gluten-free?
Yes, you can adapt this recipe to be gluten-free. Simply substitute the all-purpose flour with a quality 1-to-1 gluten-free baking flour blend and ensure your rolled oats are certified gluten-free to avoid any cross-contamination. The texture and flavor will be just as magnificent.
Why did my cookies come out flat?
Flat cookies are usually a result of overly soft butter or not chilling the dough. Ensure your butter is softened but not melted. If your dough feels very soft or greasy, chilling it for at least 30 minutes before baking will help the cookies hold their shape much better and develop a chewier texture.
Conclusion
This recipe for Christmas Monster Cookies is more than just a set of instructions; it’s an invitation to create joy and indulge in the sweet, comforting flavors of the season. They are simple to make, a delight to share, and guaranteed to be a hit at any holiday gathering. Embrace the festive mess, fill your home with the aroma of freshly baked cookies, and make this your new tradition. Don’t forget to share this recipe for festive treats with your loved ones!
Contact Us
Contact us at [email protected] and we’ll get back to you as soon as possible.
Share your experience with us
OOLALA
This turned out so awesome they look like they came from a exspensive bakery.
Just a question
So what about the grease from the meat? Should I use the leanest meats or is the grease give more flavor.
What about a meatloaf on top of veggies ? Would that work?
Ingredients list good, directions lacking
There were great details on quantities of ingredients I should use, but the recipe didn’t tell me the cook time. Also, mentioned in the section about “common mistakes” that you need to let it chill enough but doesn’t direct you in the recipe that you need to let it chill. More details would be helpful
Dressing is perfect!
Not a big fan of mayo, loved the Greek yogurt swap. Reduced garlic a bit. Dressing was delish!
Best coffee cake- ever!!
This recipe was not the easiest to follow due to how it was written. It requires a lot of back and forth from instructions to the lists of ingredients but oh, hey, the end result is totally worth the effort! Mouthwatering and delicious plus it’s a pretty presentation.