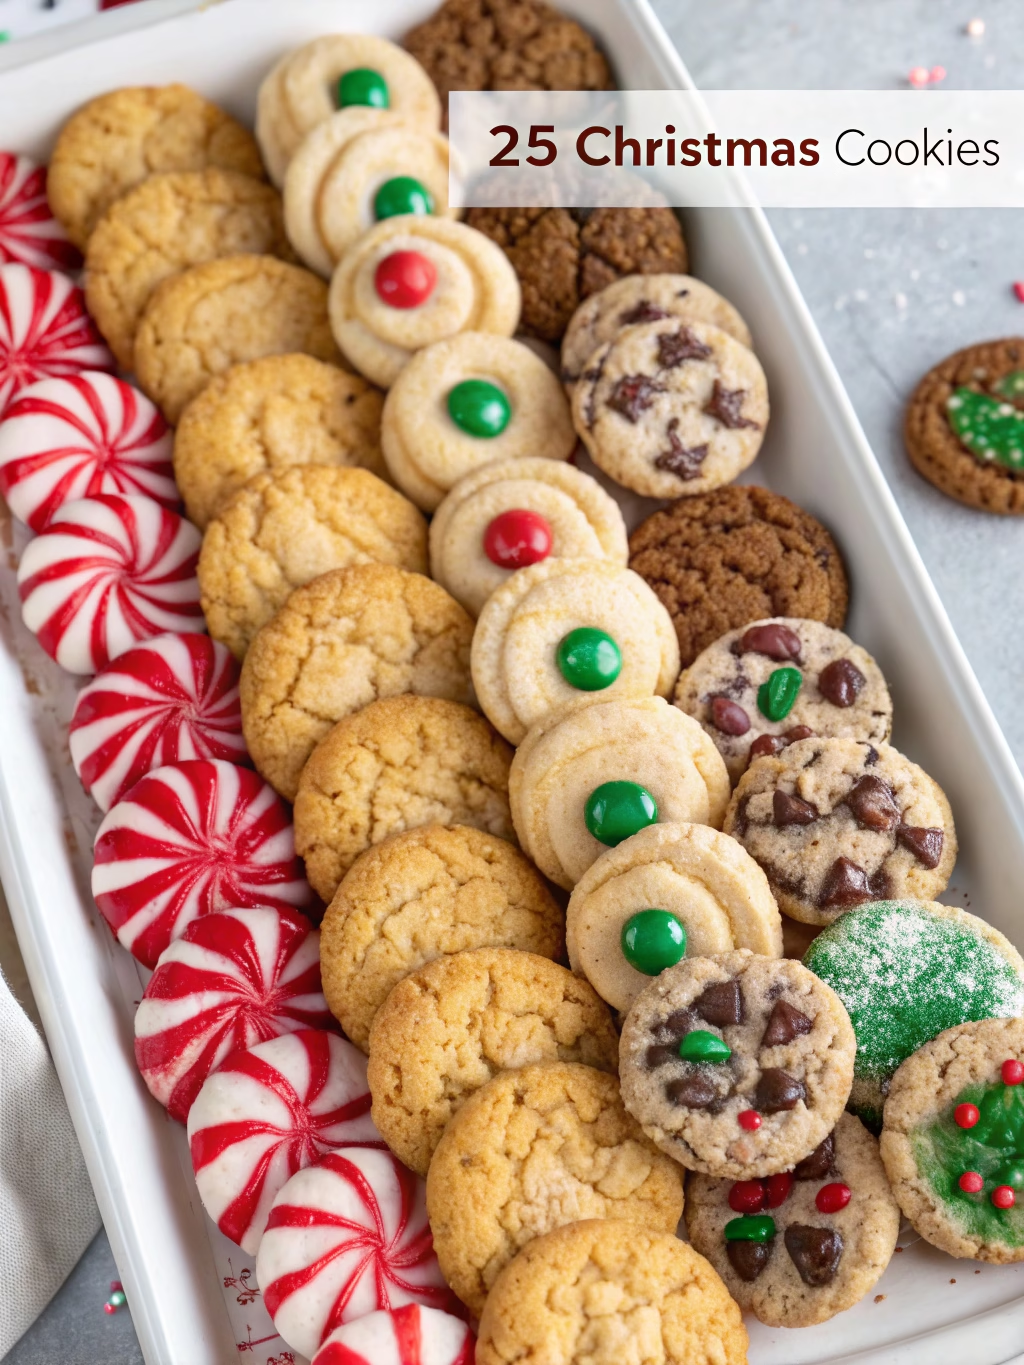
Christmas Cookie Recipes: Easy & Delicious Ideas to Bake
A Scent that Means It’s Christmas
There is a scent that, for me, instantly signals the start of the holidays. It’s not pine needles or simmering cider, but the sublime aroma of butter and sugar creaming together in a mixer, releasing a fragrance that promises pure joy. This is the heart of all my favorite Christmas cookie recipes, a sensory memory that pulls me right back to my grandmother’s kitchen. What makes these recipes truly exceptional isn’t a secret, complex ingredient; it’s the mastery of texture. We’re creating a cookie with a delicate, crisp edge that yields to a soft, buttery, and wonderfully chewy center. This is the foundation for The best easy Christmas cookie recipes for holiday baking with kids, a canvas for creativity. Come, let’s fill your home with the magic of baking.

Why You’ll Love This Recipe
- Perfectly Balanced Texture: These cookies have that divine contrast of a slightly crisp edge and a wonderfully soft, chewy middle that is simply irresistible.
- A Canvas for Creativity: This simple, flavorful dough is the ideal base for all your decorating dreams, from simple sprinkles to intricate icing.
- Simple, High-Quality Ingredients: Using basic pantry staples, this recipe proves that you don’t need fancy ingredients to create something truly spectacular.
- Creates Cherished Memories: More than just a treat, baking these cookies is an experience, making them one of Christmas cookie recipes that brings everyone together.
Preparation Time and Servings
⏱️ Preparation Time: 20 minutes (+ 1 hour chilling)
🔥 Cooking Time: 10-12 minutes per batch
⏰ Total Time: 1 hour 30 minutes
💡 Difficulty: Easy
👥 Servings: 3 dozen cookies
A truly quick recipe for unforgettable holiday joy!
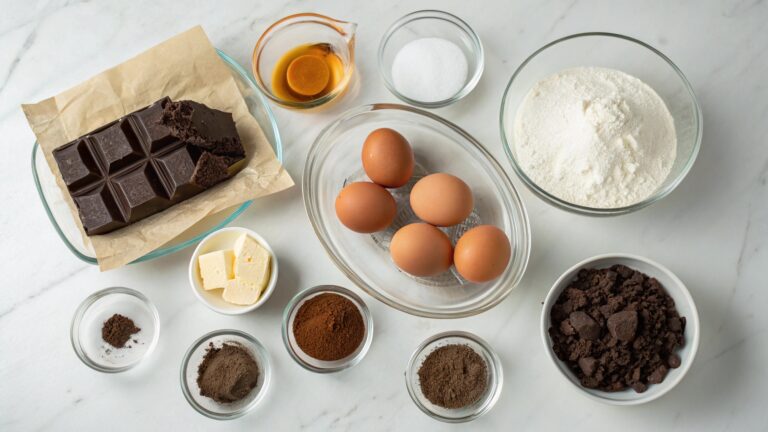
Ingredients List
For the Classic Butter Cookies:
- 3 cups (360g) all-purpose flour
- 1 teaspoon baking powder
- 1/2 teaspoon fine sea salt
- 1 cup (227g) unsalted butter, softened to room temperature
- 1 cup (200g) granulated sugar
- 1 large egg, at room temperature
- 2 teaspoons pure vanilla extract
For the Simple Royal Icing:
- 2 cups (240g) powdered sugar, sifted
- 2 tablespoons milk (or more, as needed)
- 1/2 teaspoon vanilla extract
- Food coloring and sprinkles, for decorating
Step-by-Step Instructions
- Combine the dry ingredients. In a medium bowl, whisk together the flour, baking powder, and salt. Set this aside.
- Cream the butter and sugar. In the bowl of a stand mixer fitted with the paddle attachment, beat the softened butter and granulated sugar on medium-high speed until light and fluffy, about 3-4 minutes.
- Add the wet ingredients. Beat in the egg and vanilla extract until just combined, scraping down the sides of the bowl as needed.
- Mix the dough. Reduce the mixer speed to low and gradually add the dry flour mixture. Mix until just combined-be careful not to overmix.
- Chill the dough. Divide the dough in half, flatten each half into a disk, and wrap tightly in plastic wrap. Refrigerate for at least 1 hour. This step is crucial for preventing the cookies from spreading.
- Preheat your oven to 350°F (175°C). Line two large baking sheets with parchment paper or silicone mats.
- Roll and Cut. On a lightly floured surface, roll one disk of dough out to about 1/4-inch thickness. Use your favorite cookie cutters to cut out shapes and transfer them to the prepared baking sheets.
- Bake for 10-12 minutes, or until the edges are just beginning to turn a pale golden brown. The centers should still look soft.
- Cool the cookies on the baking sheet for 5 minutes before transferring them to a wire rack to cool completely.
- Prepare the icing while the cookies cool. In a small bowl, whisk together the sifted powdered sugar, milk, and vanilla until smooth. Adjust with more milk or sugar to reach your desired consistency.
- Decorate the completely cooled cookies with icing and sprinkles. Let the icing set completely before storing.
Pro Tips from a Professional Chef
- Use Room Temperature Ingredients: For the dough to emulsify properly, your butter and egg must be at room temperature. This creates a uniform, tender texture.
- Do Not Overmix the Flour: When you add the flour, mix only until the last streaks disappear. Overmixing develops gluten, which will make your cookies tough instead of tender. This is a key secret for the best Christmas cookie recipes.
- Trust the Chill Time: I cannot stress this enough. Chilling the dough solidifies the butter, which means your cookies will hold their beautiful shapes perfectly instead of spreading into thin discs in the oven.
- Pull Them Out Early: The secret to a soft center is to pull the cookies from the oven when they look slightly underdone. They will continue to bake from the residual heat of the pan.
Special Equipment
- Stand Mixer: While you can use a hand mixer, a stand mixer makes creaming the butter and sugar to the perfect light and airy consistency nearly effortless.
- Rolling Pin with Thickness Guides: These rings slide onto the ends of your rolling pin to ensure your dough is rolled to a perfectly even thickness every time, which promotes even baking.
Variations & Substitutions for These Christmas Cookie Recipes
- Citrus Zest: Add the zest of one orange or lemon to the butter and sugar mixture for a bright, fresh flavor that pairs beautifully with the vanilla.
- Spiced Dough: For a warmer flavor, add 1 teaspoon of ground cinnamon and 1/4 teaspoon of ground nutmeg to your dry ingredients.
- Gluten-Free Version: You can easily substitute the all-purpose flour with a high-quality 1-to-1 gluten-free baking flour blend. The results are just as delightful.
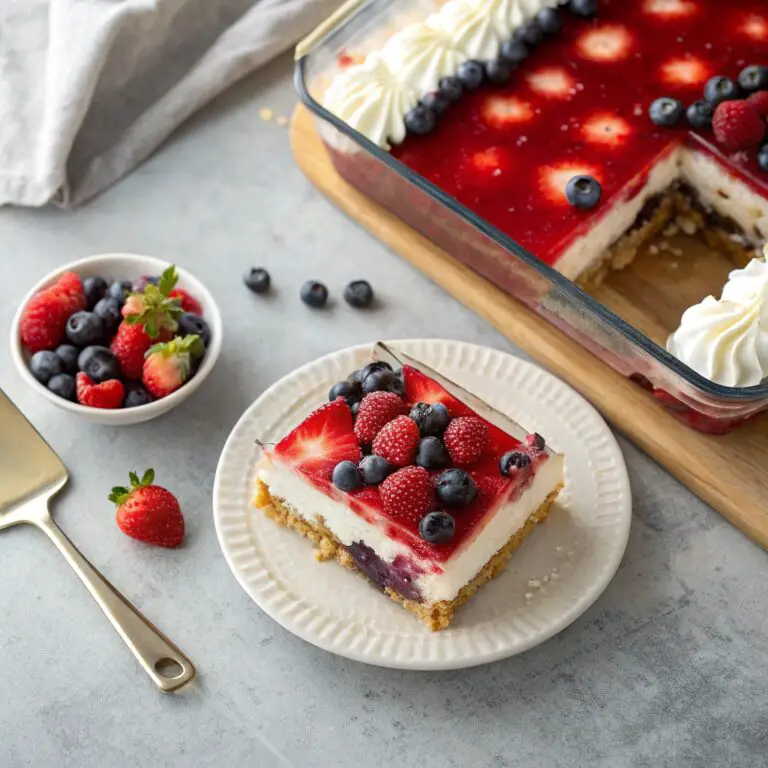
Serving Suggestions
These cookies are a joy on their own, but they truly shine alongside a steaming mug of rich hot chocolate or a warm, spiced apple cider. For adults, a milky cup of coffee or a festive eggnog is a perfect companion. They also make a beautiful centerpiece for a holiday dessert platter.
Storage & Make-Ahead Tips
Proper storage is key to enjoying your beautiful creations for days to come!
- To Store: Once the icing is completely set, store the cookies in a single layer in an airtight container at room temperature for up to 5 days.
- To Reheat: These cookies are best enjoyed at room temperature, no reheating is needed.
- Make-Ahead: The cookie dough is perfect for making in advance! You can refrigerate the wrapped dough disks for up to 3 days or freeze them for up to 3 months. Thaw in the refrigerator overnight before rolling and baking.
Frequently Asked Questions (FAQs)
Here are answers to a few questions I often hear in my kitchen.
Why did my cookies spread too much?
This is almost always because the dough was not chilled for long enough. Chilling solidifies the fat (butter), which helps the cookies maintain their shape as they bake. Also, ensure your baking sheet is cool before placing the dough on it.
Can I use salted butter instead?
You can, but I recommend unsalted to control the exact amount of salt. If you only have salted butter, simply omit the 1/2 teaspoon of fine sea salt called for in the recipe.
How do I know when the cookies are done baking?
Look at the edges. They should be very lightly golden. The centers will still appear soft and slightly puffy. They will set up as they cool on the baking sheet.
My royal icing is too thick/thin. How can I fix it?
Icing consistency is all about small adjustments! If it’s too thick, add milk 1/2 teaspoon at a time. If it’s too thin and runny, add sifted powdered sugar one tablespoon at a time until you reach the desired texture.
Can I freeze the baked cookies?
Yes! It is one of the best things about these Christmas cookie recipes. For best results, freeze them undecorated. Place them in a single layer in a freezer-safe container or bag for up to 3 months. Thaw at room temperature before decorating and serving.
Conclusion
The true magic of the holidays lives in these moments of creation. I hope you feel the immense joy of sharing these classic Christmas cookie recipes, from the warm, buttery aroma that fills your home to the satisfying, soft bite of the final cookie. This is more than a recipe; it’s a tradition in the making. I can’t wait for you to experience this in your own kitchen.
Contact Us
Contact us at [email protected] and we’ll get back to you as soon as possible.
Share your experience with us
OOLALA
This turned out so awesome they look like they came from a exspensive bakery.
Just a question
So what about the grease from the meat? Should I use the leanest meats or is the grease give more flavor.
What about a meatloaf on top of veggies ? Would that work?
Ingredients list good, directions lacking
There were great details on quantities of ingredients I should use, but the recipe didn’t tell me the cook time. Also, mentioned in the section about “common mistakes” that you need to let it chill enough but doesn’t direct you in the recipe that you need to let it chill. More details would be helpful
Dressing is perfect!
Not a big fan of mayo, loved the Greek yogurt swap. Reduced garlic a bit. Dressing was delish!
Best coffee cake- ever!!
This recipe was not the easiest to follow due to how it was written. It requires a lot of back and forth from instructions to the lists of ingredients but oh, hey, the end result is totally worth the effort! Mouthwatering and delicious plus it’s a pretty presentation.