Apple Crisp: Warm, Cozy Fall Dessert to Discover
Introduction
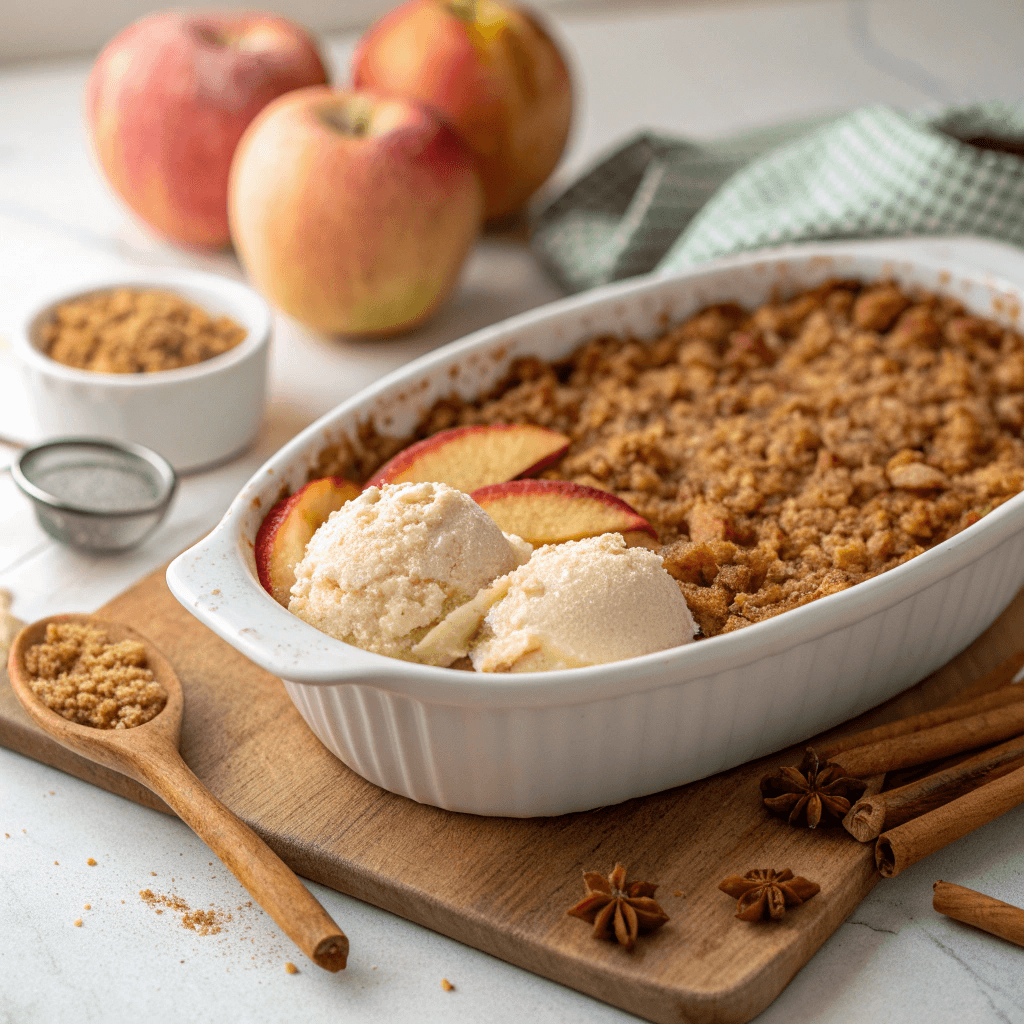
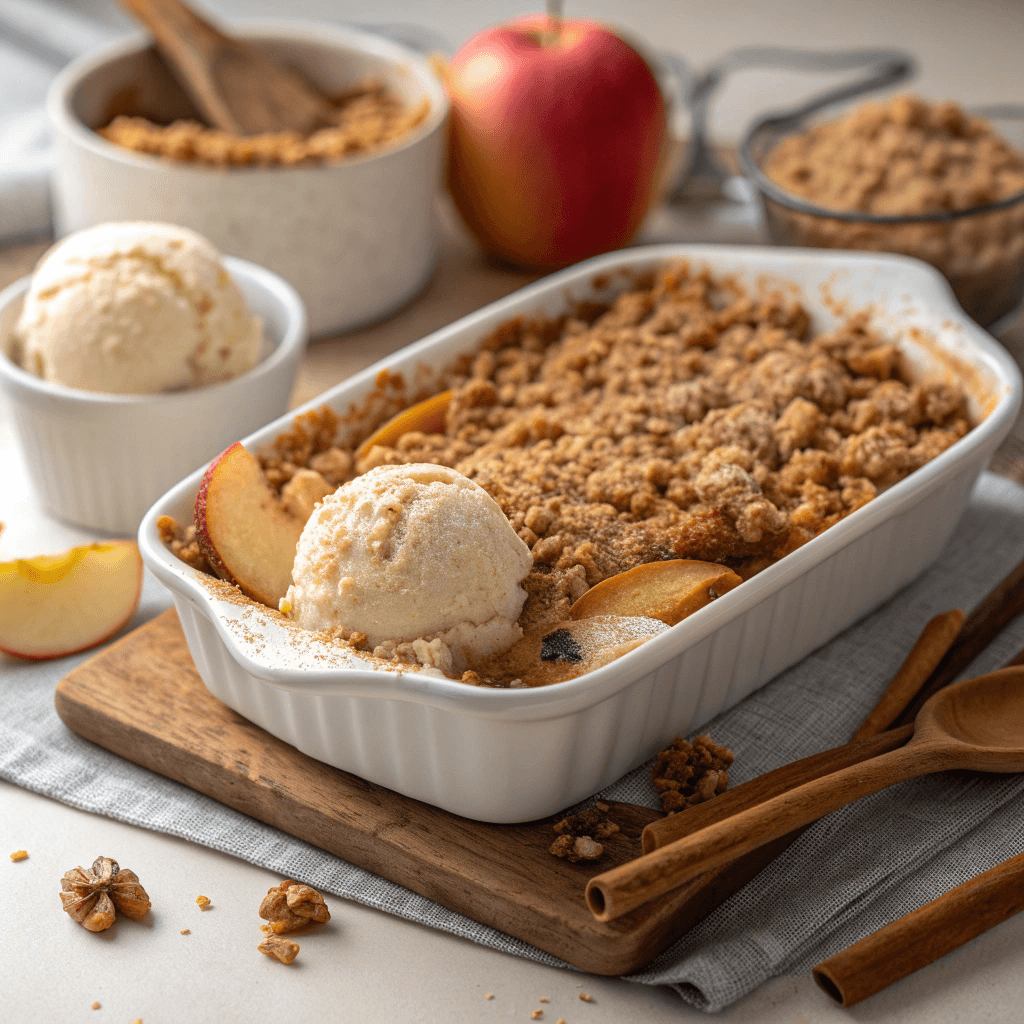
As the leaves turn golden and the air grows crisp, there’s nothing quite like the aroma of a freshly baked apple crisp wafting through your home. This classic comfort dessert combines the sweet-tart flavors of baked apples with a buttery oat crumble topping, creating a symphony of textures and tastes that epitomize the essence of autumn. Whether you’re a seasoned baker or a culinary novice, this easy fall recipe is sure to become a staple in your dessert repertoire.
Why is it Perfect for You?
Apple Crisp is the ideal dessert for those seeking a comforting, homemade treat without the fuss of a complicated recipe. It’s versatile, allowing you to experiment with different apple varieties and spice combinations. Plus, it’s a crowd-pleaser that can be easily scaled up for gatherings or enjoyed as a cozy dessert for two.
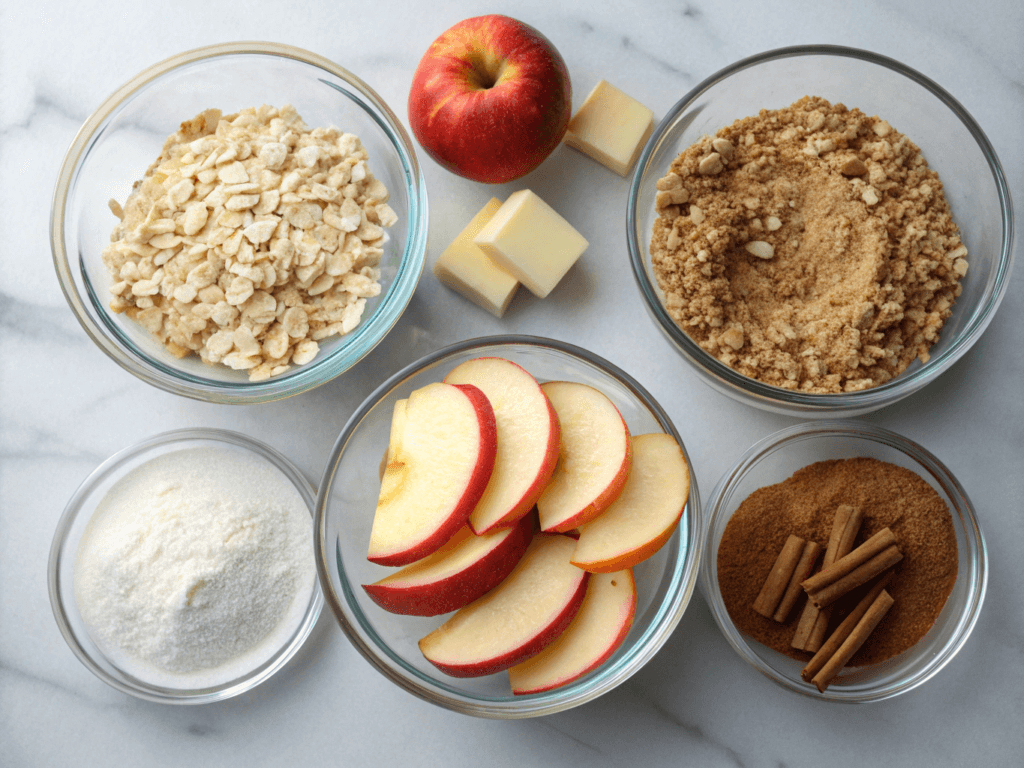
Ingredients List
◾ 6 medium-sized apples (preferably a mix of tart and sweet varieties)
◾ 1 cup old-fashioned rolled oats
◾ 3/4 cup all-purpose flour
◾ 3/4 cup brown sugar, packed
◾ 1 teaspoon ground cinnamon
◾ 1/2 teaspoon ground nutmeg
◾ 1/4 teaspoon salt
◾ 1/2 cup unsalted butter, cold and cubed
◾ 1 tablespoon lemon juice
◾ 2 tablespoons granulated sugar
Preparation Time and Servings
Prep Time: 20 minutes
Cook Time: 45 minutes
Total Time: 1 hour 5 minutes
Servings: 6-8
Step-by-Step Instructions
Step 1: Prepare the Apples
Begin by preheating your oven to 350°F (175°C). Wash, peel, and core the apples, then slice them into thin wedges. In a large bowl, toss the apple slices with lemon juice and granulated sugar. This will enhance their natural sweetness and prevent browning.
Step 2: Create the Crumble Topping
In a separate bowl, combine the oats, flour, brown sugar, cinnamon, nutmeg, and salt. Mix these dry ingredients thoroughly to ensure even distribution of flavors. Add the cold, cubed butter and use your fingers or a pastry cutter to work it into the dry mixture until it resembles coarse crumbs.
Step 3: Assemble and Bake
Transfer the prepared apples to a 9×13-inch baking dish, spreading them out evenly. Sprinkle the crumble topping over the apples, making sure to cover them completely. Place the dish in the preheated oven and bake for 45-50 minutes, or until the topping is golden brown and the apples are tender when pierced with a fork.
Step 4: Cool and Serve
Once baked to perfection, remove your Apple Crisp from the oven and let it cool for about 15 minutes. This allows the juices to settle and makes serving easier. Enjoy warm with a scoop of vanilla ice cream or a dollop of whipped cream for an extra indulgent treat.
Nutritional Information
While apple crisp is a delicious dessert, it’s important to enjoy it in moderation as part of a balanced diet. This recipe is a good source of dietary fiber from the apples and oats, and it provides some essential vitamins and minerals.
Calories per Person
On average, a serving of this Apple Crisp contains approximately 300-350 calories, depending on the size of the portion and any additional toppings.
Healthier Alternatives for the Recipe
To make this dessert a bit lighter, consider these modifications:
◾ Use whole wheat flour instead of all-purpose flour for added fiber
◾ Reduce the amount of sugar or substitute with a natural sweetener like honey or maple syrup
◾ Replace half the butter with unsweetened applesauce to cut down on fat
◾ Add chopped nuts like walnuts or almonds for healthy fats and protein
Serving Suggestions
Apple Crisp is delightful on its own, but you can elevate it further with these serving ideas:
◾ Pair with a scoop of vanilla bean ice cream for a classic combination
◾ Drizzle with warm caramel sauce for extra decadence
◾ Serve alongside a sharp cheddar cheese for a surprising flavor contrast
◾ Garnish with a sprinkle of toasted pecans for added crunch
Common Mistakes to Avoid
To ensure your apple crisp turns out perfectly every time, steer clear of these common pitfalls:
◾ Slicing the apples too thick, which can result in an undercooked filling
◾ Overworking the crumble topping, leading to a tough texture
◾ Using only sweet apples, which can make the dessert overly sugary
◾ Skipping the cooling period, which can result in a runny consistency
Storing Tips for the Recipe
To keep your Apple Crisp fresh:
◾ Cover and refrigerate for up to 3 days
◾ Reheat individual portions in the microwave or the entire dish in a 350°F oven until warmed through
◾ For longer storage, freeze for up to 3 months and thaw overnight in the refrigerator before reheating
FAQs
Can I make Apple Crisp ahead of time?
Yes, you can prepare the apple filling and crumble topping separately up to a day in advance. Assemble and bake just before serving for the best texture.
What are the best apples to use for Apple Crisp?
A mix of tart and sweet apples works best. Try combining Granny Smith with Honeycrisp or Braeburn for a balanced flavor profile.
Can I make this recipe gluten-free?
Certainly! Replace the all-purpose flour with a gluten-free flour blend and ensure your oats are certified gluten-free.
How do I know when my Apple Crisp is done baking?
The topping should be golden brown, and the apple filling should be bubbling around the edges. You can also test the apples with a fork for tenderness.
Conclusion
Apple Crisp is more than just a dessert; it’s a celebration of autumn’s bounty and a comforting hug in a baking dish. With its perfect balance of sweet apples and crunchy topping, this timeless treat is sure to become a favorite in your household. So gather your ingredients, preheat that oven, and get ready to fill your home with the irresistible aroma of fall.
Contact Us
Contact us at [email protected] and we’ll get back to you as soon as possible.
Share your experience with us
OOLALA
This turned out so awesome they look like they came from a exspensive bakery.
Just a question
So what about the grease from the meat? Should I use the leanest meats or is the grease give more flavor.
What about a meatloaf on top of veggies ? Would that work?
Ingredients list good, directions lacking
There were great details on quantities of ingredients I should use, but the recipe didn’t tell me the cook time. Also, mentioned in the section about “common mistakes” that you need to let it chill enough but doesn’t direct you in the recipe that you need to let it chill. More details would be helpful
Dressing is perfect!
Not a big fan of mayo, loved the Greek yogurt swap. Reduced garlic a bit. Dressing was delish!
Best coffee cake- ever!!
This recipe was not the easiest to follow due to how it was written. It requires a lot of back and forth from instructions to the lists of ingredients but oh, hey, the end result is totally worth the effort! Mouthwatering and delicious plus it’s a pretty presentation.