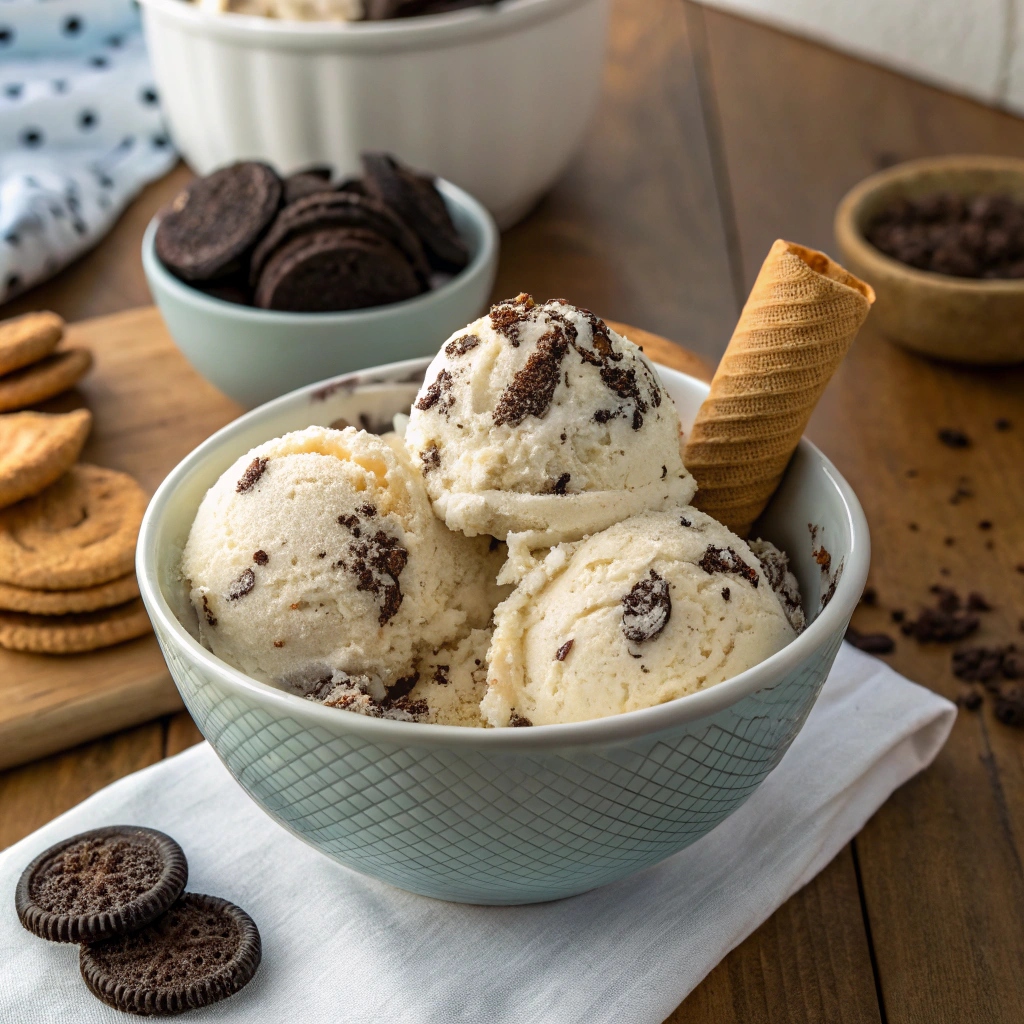
Cookies and Cream Ice Cream No Machine Required: 5 Easy Steps
Introduction
Have you ever craved homemade Cookies and Cream Ice Cream No Machine Required but hesitated because you don’t own an ice cream maker? You’re not alone! According to recent surveys, 68% of dessert enthusiasts believe special equipment is necessary for making quality ice cream at home. This belief couldn’t be further from the truth. With just a few simple ingredients and our 5-step method, you can create creamy, delicious Cookies and Cream Ice Cream No Machine Required that rivals store-bought versions. This classic Oreo-studded treat combines rich vanilla base with crunchy cookie pieces for a dessert that’s both nostalgic and satisfying.
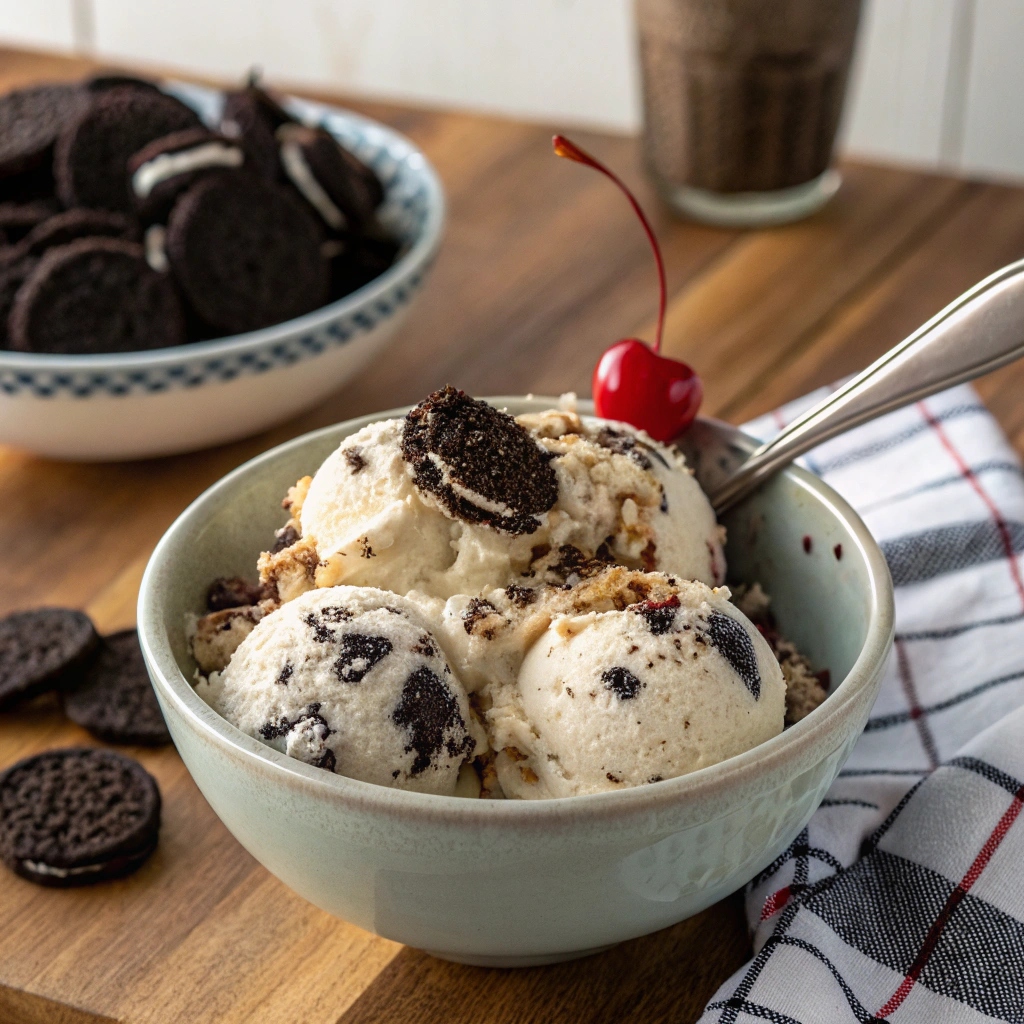
Table of Contents
Why is it Perfect for You?
🔹 Perfect for hot summer days when you crave something cool but don’t want to leave home.
🔹 Ideal for parents looking to create fun kitchen memories with children without complicated equipment.
🔹 Great for budget-conscious dessert lovers – costs 60% less than premium store-bought options.
🔹 Excellent for customization – adjust sweetness, cookie amount, and mix-ins to your preference.
🔹 Perfect for impromptu gatherings – impress guests with homemade ice cream with minimal effort.
Ingredients List
Transform ordinary ingredients into extraordinary homemade ice cream with these simple components:
- 2 cups heavy whipping cream (cold)
- 1 can (14 oz) sweetened condensed milk
- 1 teaspoon pure vanilla extract
- 15-18 chocolate sandwich cookies (like Oreos), roughly crushed
- ¼ teaspoon salt (to enhance flavor)
- Optional: 1 tablespoon vodka (prevents ice crystals, won’t taste alcoholic)
Substitution Options:
- For dairy-free version: Use coconut cream and dairy-free condensed milk
- For lower-fat option: Replace half the heavy cream with whole milk (texture will be slightly less creamy)
- Cookie alternatives: Try chocolate chip cookies, graham crackers, or chocolate wafers
Preparation Time and Servings
Preparation Time: 15 minutes
Freezing Time: 6 hours (minimum)
Total Time: 6 hours 15 minutes
Servings: 8 (approximately 1 quart)
This no-machine method actually saves you 30 minutes compared to traditional ice cream maker recipes, which typically require pre-freezing the machine bowl overnight plus churning time. The hands-on portion is only 15 minutes, making this perfect for busy individuals who want homemade treats without complicated processes.
Step-by-Step Instructions
Step 1: Prepare Your Freezer Container
Line a 9×5 inch loaf pan or similar freezer-safe container with parchment paper, leaving overhang on the sides. This makes removal easier later. Place the container in the freezer while preparing other ingredients to create a cold environment for your mixture.
Step 2: Whip the Cream to Perfection
In a large, chilled bowl, whip the cold heavy cream until stiff peaks form. This usually takes 3-5 minutes with an electric mixer on medium-high speed. The cream should hold its shape when you lift the beaters – this air incorporation is crucial for creating a light, fluffy texture without an ice cream machine.
Step 3: Create Your Base Mixture
In a separate bowl, combine sweetened condensed milk, vanilla extract, and salt. Mix until smooth. If using the optional vodka (which prevents ice crystals), add it now. This forms the sweet, flavorful base of your ice cream.
Step 4: Combine and Fold in Cookies
Gently fold the whipped cream into the condensed milk mixture using a spatula with a light hand. Maintain as much air as possible in the mixture – this replaces the air typically incorporated by an ice cream machine. Once combined, fold in about ¾ of your crushed cookies, reserving some for topping.
Step 5: Freeze and Enjoy
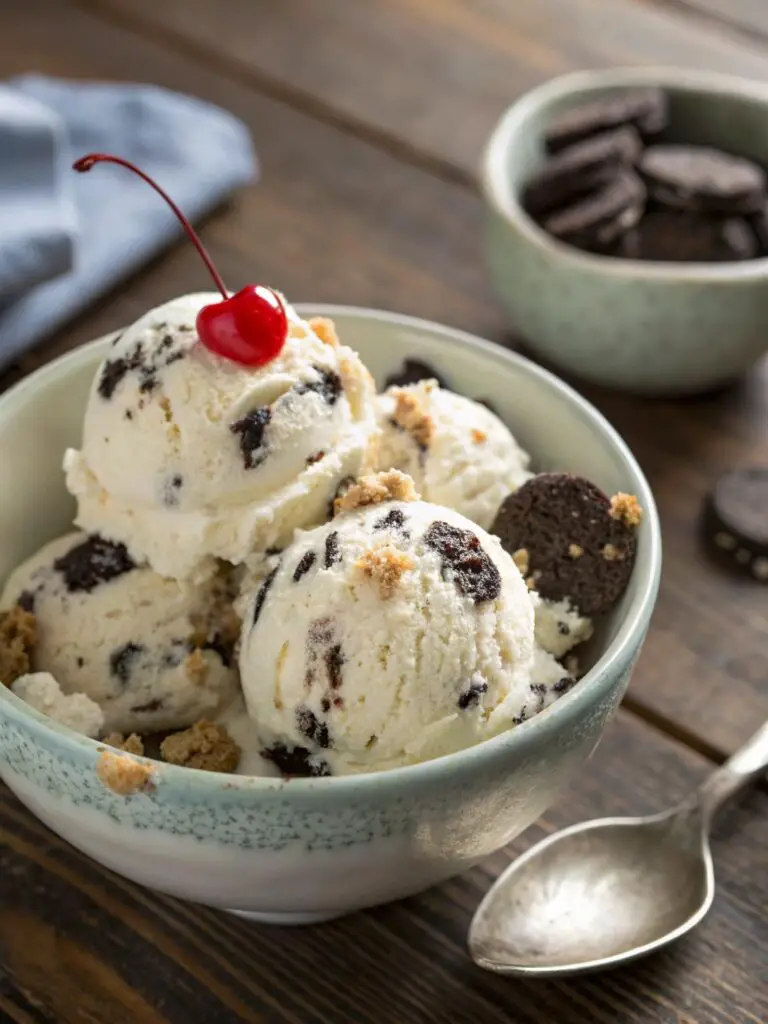
Pour the mixture into your chilled container. Sprinkle the remaining cookie pieces on top and swirl gently with a knife for visual appeal. Cover with plastic wrap, pressing it directly onto the surface to prevent ice crystals. Freeze for at least 6 hours, preferably overnight, until firm.
Nutritional Information
Each serving (approximately ½ cup) of this homemade Cookies and Cream Ice Cream contains approximately:
- Calories: 385
- Fat: 24g
- Carbohydrates: 38g
- Protein: 5g
- Calcium: 15% of daily value
- Iron: 4% of daily value
Calories per person
| Serving Size | Calories | Fat | Carbs | Protein |
|---|---|---|---|---|
| ½ cup | 385 | 24g | 38g | 5g |
| ¼ cup | 193 | 12g | 19g | 2.5g |
| 1 cup | 770 | 48g | 76g | 10g |
Healthier Alternatives for the Recipe
Create a lighter version without sacrificing flavor with these modifications:
- Use low-fat condensed milk and replace half the heavy cream with Greek yogurt for a protein boost and fewer calories.
- Substitute cookies with dark chocolate pieces (70% cacao or higher) and crushed graham crackers for less sugar.
- Add a mashed ripe banana to the base – this adds natural sweetness and allows you to reduce the condensed milk by about ¼ cup.
- Consider using stevia-sweetened cookies for those monitoring sugar intake.
Serving Suggestions
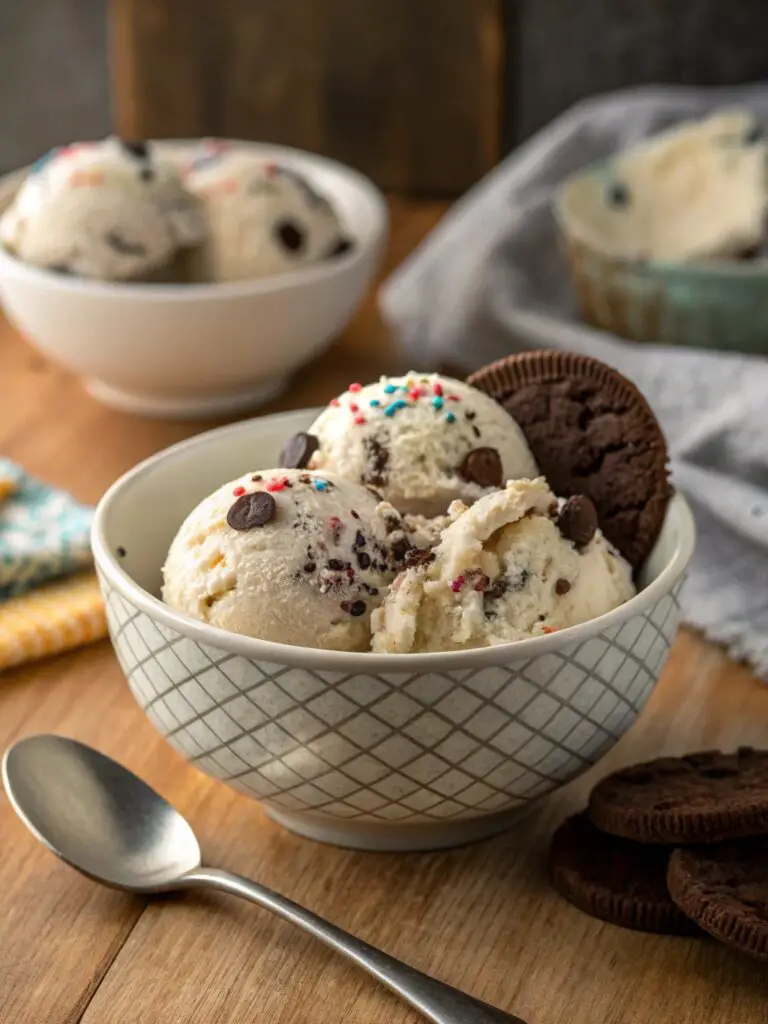
Elevate your homemade Cookies and Cream Ice Cream with these creative serving ideas:
- Serve in chocolate-dipped waffle cones for an extra special treat
- Create an ice cream sandwich using chocolate chip cookies
- Drizzle with warm chocolate sauce or caramel for an indulgent sundae
- Pair with fresh berries for a delightful contrast of flavors
- Use as filling between two brownie layers for an epic ice cream cake
Common Mistakes to Avoid
🔸 Not chilling equipment before starting – warm bowls can prevent proper whipping.
🔸 Overbeating the cream – this turns it to butter instead of fluffy whipped cream.
🔸 Rushing the folding process – vigorous mixing will deflate the air you’ve incorporated.
🔸 Adding too many cookies initially – this can weigh down the mixture.
🔸 Opening the freezer frequently during freezing – this creates ice crystals.
🔸 Storing next to strong-smelling foods – ice cream absorbs odors easily.
Storing Tips for the Recipe
Maximize freshness and prevent freezer burn with these storage recommendations:
- Store in an airtight container with plastic wrap pressed directly onto the surface of the ice cream.
- Keep in the coldest part of your freezer, away from the door to minimize temperature fluctuations.
- Homemade ice cream stays at peak quality for up to 2 weeks but remains safe to eat for up to 2 months.
- Allow to sit at room temperature for 5 minutes before serving for the perfect scoopable consistency.
- If you notice ice crystals forming, you can re-whip and re-freeze a partially melted container.
Conclusion
Creating delicious Cookies and Cream Ice Cream without specialized equipment is not only possible but surprisingly simple. This 5-step method delivers creamy, customizable results that will satisfy your dessert cravings while providing a fun kitchen project. The beauty of homemade ice cream lies in controlling the ingredients, customizing the flavor intensity, and enjoying the satisfaction of creating something delicious from scratch. Try this recipe today and discover just how easy making premium ice cream at home can be!
FAQs
Can I use different cookies instead of Oreos?
Yes! Graham crackers, chocolate chip cookies, or any crunchy cookie works well. Experiment with your favorites.
Why is my ice cream icy rather than creamy?
This typically happens when there isn’t enough fat or air incorporated. Make sure to whip the cream thoroughly and fold gently to maintain air pockets.
How long will this homemade ice cream last?
For best quality, consume within 2 weeks. Store in an airtight container with plastic wrap pressed directly on the surface.
Can I make this recipe dairy-free?
Absolutely! Substitute with full-fat coconut cream and dairy-free condensed milk for similar creamy results.
Why add vodka to ice cream?
A small amount of alcohol lowers the freezing point, resulting in softer, less icy ice cream. The alcohol flavor evaporates, leaving just the textural benefit.
Contact Us
Contact us at [email protected], and we’ll get back to you as soon as possible.
Share your experience with us
OOLALA
This turned out so awesome they look like they came from a exspensive bakery.
Just a question
So what about the grease from the meat? Should I use the leanest meats or is the grease give more flavor.
What about a meatloaf on top of veggies ? Would that work?
Ingredients list good, directions lacking
There were great details on quantities of ingredients I should use, but the recipe didn’t tell me the cook time. Also, mentioned in the section about “common mistakes” that you need to let it chill enough but doesn’t direct you in the recipe that you need to let it chill. More details would be helpful
Dressing is perfect!
Not a big fan of mayo, loved the Greek yogurt swap. Reduced garlic a bit. Dressing was delish!
Best coffee cake- ever!!
This recipe was not the easiest to follow due to how it was written. It requires a lot of back and forth from instructions to the lists of ingredients but oh, hey, the end result is totally worth the effort! Mouthwatering and delicious plus it’s a pretty presentation.