Easy Chili Relleno Casserole Recipe for Comforting Dinners (Gluten-Free)
Introduction
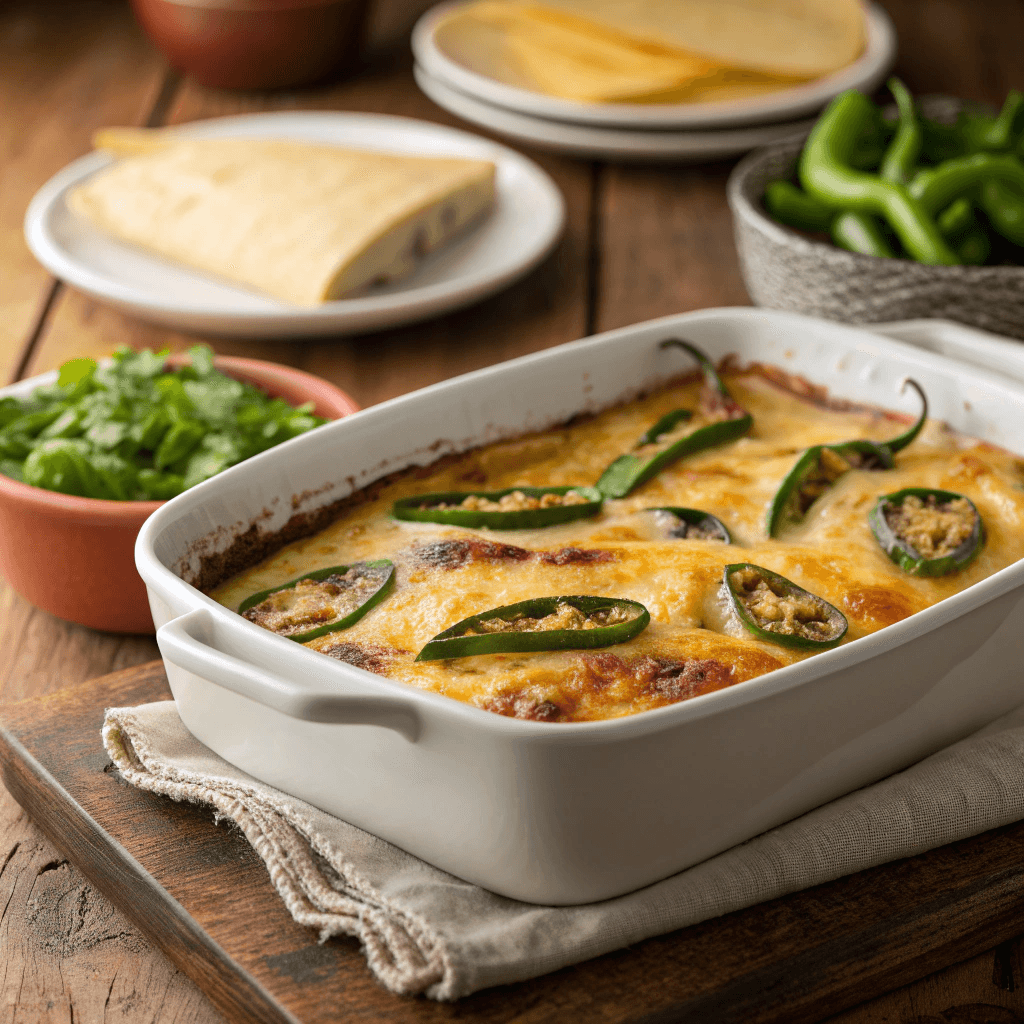
Are you craving a comforting, flavorful dish that’s both easy to make and sure to impress? Look no further than the chili relleno casserole! This Mexican-inspired delight brings together the rich taste of roasted peppers, gooey cheese, and a fluffy egg mixture for a meal that’s perfect for any occasion. Whether you’re a seasoned chef or a kitchen novice, you’ll love how to make easy chili relleno casserole at home. Let’s dive into this mouthwatering recipe that’s sure to become a family favorite!
Why is it Perfect for You?
This chili relleno casserole is a game-changer for busy households and food enthusiasts alike. It’s gluten-free, vegetarian-friendly, and packed with bold flavors that will tantalize your taste buds. The combination of Anaheim and poblano peppers offers a mild heat that’s balanced perfectly by the creamy cheese and fluffy egg mixture. Plus, it’s versatile enough to serve for breakfast, lunch, or dinner, making it an ideal choice for meal prep or last-minute gatherings.
Ingredients List
◾ 4 large Anaheim peppers
◾ 4 large poblano peppers
◾ 2 cups shredded cheddar cheese
◾ 2 cups shredded Monterey Jack cheese
◾ 6 large eggs
◾ 1/2 cup milk
◾ 1/4 cup cornmeal
◾ 1 teaspoon salt
◾ 1/2 teaspoon black pepper
◾ 1/4 teaspoon cumin
◾ 1/4 cup chopped fresh cilantro

Preparation Time and Servings
Prep Time: 20 minutes
Cook Time: 40 minutes
Total Time: 1 hour
Servings: 6-8
Step-by-Step Instructions
Step 1: Roast the Peppers
Begin by preheating your oven to 400°F (200°C). Place the Anaheim and poblano peppers on a baking sheet and roast them for about 20 minutes, turning occasionally, until the skin is blistered and charred. Once done, transfer the peppers to a plastic bag and seal it. Let them steam for 10 minutes to make peeling easier.
Step 2: Prepare the Peppers
After steaming, carefully peel the skin off the peppers. Remove the seeds and stems, then slice the peppers into strips. This step is crucial for achieving that authentic chili relleno flavor without the hassle of stuffing individual peppers.
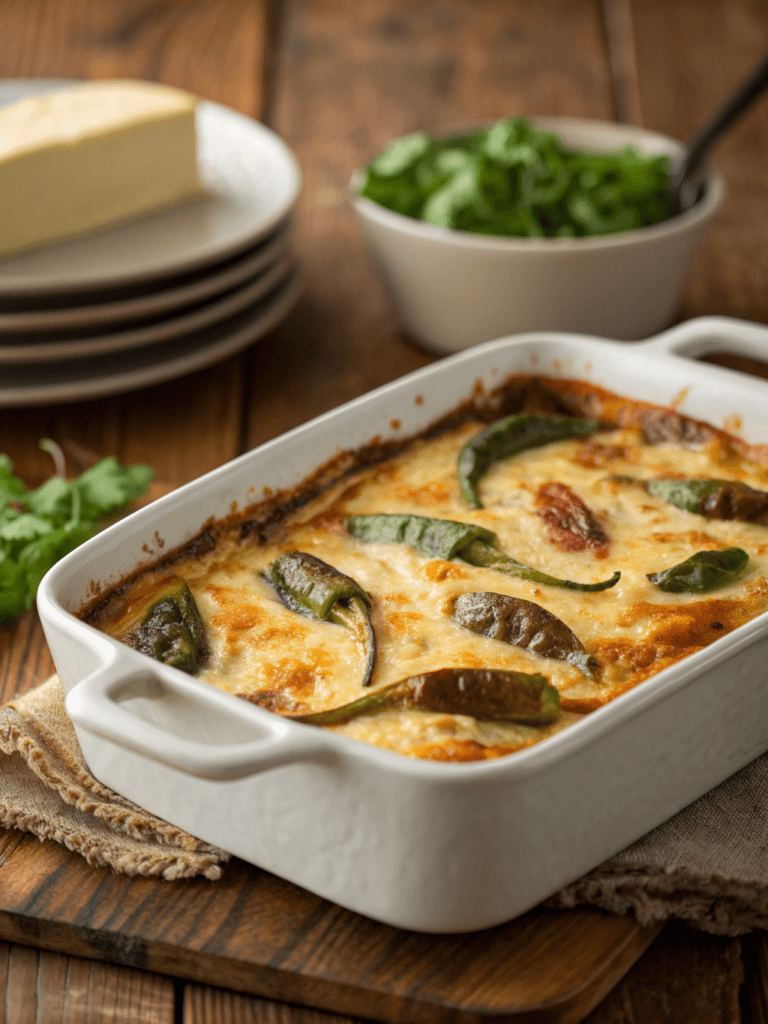
Step 3: Layer the Casserole
Grease a 9×13-inch baking dish and layer half of the roasted pepper strips on the bottom. Sprinkle half of the cheddar and Monterey Jack cheese over the peppers. Repeat with another layer of peppers and cheese.
Step 4: Create the Egg Mixture
In a large bowl, whisk together the eggs, milk, cornmeal, salt, pepper, and cumin until well combined. This mixture will give your casserole its fluffy texture and bind all the delicious ingredients together.
Step 5: Assemble and Bake
Pour the egg mixture evenly over the layers of peppers and cheese. Sprinkle the chopped cilantro on top. Bake in the preheated oven for 35-40 minutes, or until the casserole is set and the top is golden brown.
Nutritional Information
This chili relleno casserole is not only delicious but also nutritious. It’s high in protein from the eggs and cheese, and rich in vitamins from the peppers. The cornmeal adds a subtle texture and provides some complex carbohydrates.
Calories per Person
Approximately 350-400 calories per serving, based on 8 servings.
Healthier Alternatives for the Recipe
To make this dish even healthier, consider using low-fat cheese and milk. You can also add some diced tomatoes or spinach for extra nutrients. For a dairy-free version, substitute the cheese with a vegan alternative and use almond milk instead of regular milk.
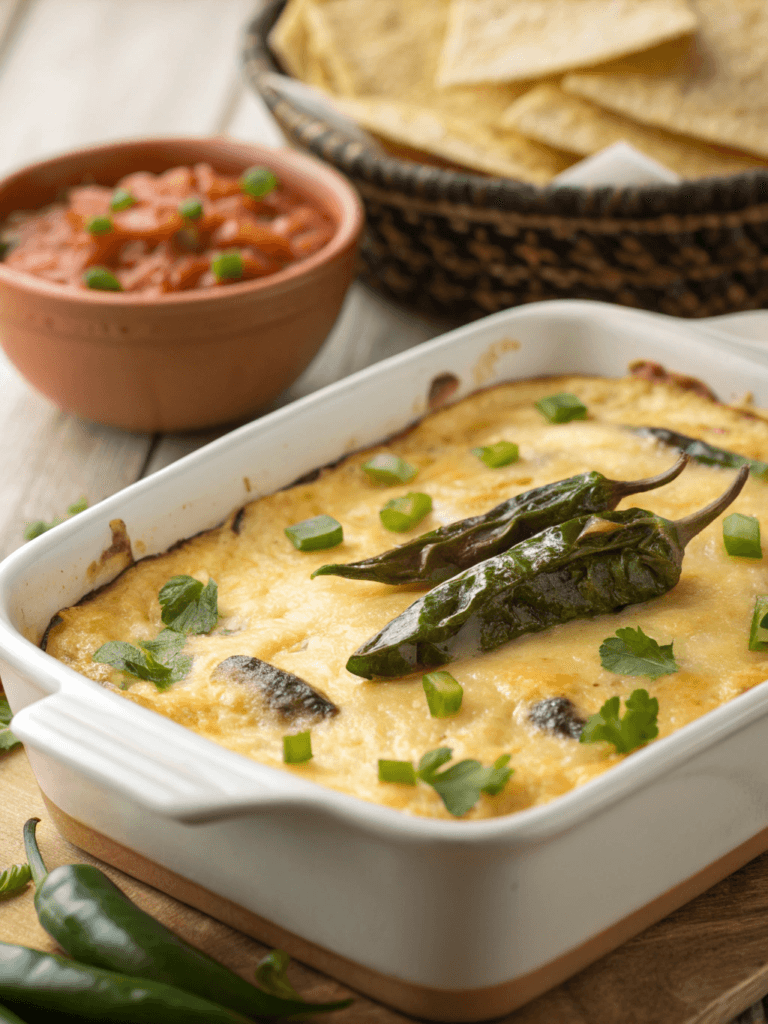
Serving Suggestions
Serve your chili relleno casserole hot, garnished with extra cilantro, a dollop of sour cream, or a spoonful of fresh salsa. It pairs wonderfully with a crisp green salad or some Mexican-style rice for a complete meal.
Common Mistakes to Avoid
Don’t skip roasting and peeling the peppers, as this step is crucial for the authentic flavor. Avoid overbaking, which can dry out the casserole. Lastly, make sure to let it rest for a few minutes before serving to allow it to set properly.
Storing Tips for the Recipe
This casserole keeps well in the refrigerator for up to 3 days. Cover it tightly with plastic wrap or transfer to an airtight container. To reheat, simply microwave individual portions or warm the entire casserole in the oven at 350°F (175°C) for about 15 minutes.
FAQs
Can I make this recipe ahead of time?
Absolutely! You can assemble the casserole a day in advance and refrigerate it. Just bring it to room temperature before baking.
Is this recipe spicy?
The heat level is mild to moderate, depending on the peppers. If you prefer less heat, use bell peppers instead of poblanos.
Can I freeze this casserole?
Yes, you can freeze it for up to 3 months. Thaw in the refrigerator overnight before reheating.
What can I serve with chili relleno casserole?
It’s delicious with guacamole, pico de gallo, or a side of refried beans.
Conclusion
This chili relleno casserole is a fantastic way to enjoy the flavors of traditional chili rellenos without the fuss of stuffing and frying individual peppers. It’s perfect for feeding a crowd or meal prepping for the week ahead. With its rich, cheesy goodness and the smoky flavors of roasted peppers, this dish is sure to become a staple in your recipe collection. So, gather your ingredients and get ready to impress your family and friends with this delightful Mexican-inspired casserole!
Contact Us
Contact us at [email protected] and we’ll get back to you as soon as possible.
Share your experience with us
OOLALA
This turned out so awesome they look like they came from a exspensive bakery.
Just a question
So what about the grease from the meat? Should I use the leanest meats or is the grease give more flavor.
What about a meatloaf on top of veggies ? Would that work?
Ingredients list good, directions lacking
There were great details on quantities of ingredients I should use, but the recipe didn’t tell me the cook time. Also, mentioned in the section about “common mistakes” that you need to let it chill enough but doesn’t direct you in the recipe that you need to let it chill. More details would be helpful
Dressing is perfect!
Not a big fan of mayo, loved the Greek yogurt swap. Reduced garlic a bit. Dressing was delish!
Best coffee cake- ever!!
This recipe was not the easiest to follow due to how it was written. It requires a lot of back and forth from instructions to the lists of ingredients but oh, hey, the end result is totally worth the effort! Mouthwatering and delicious plus it’s a pretty presentation.