Hot Chocolate Cheesecake: Easy Recipe to Make Today
Introduction
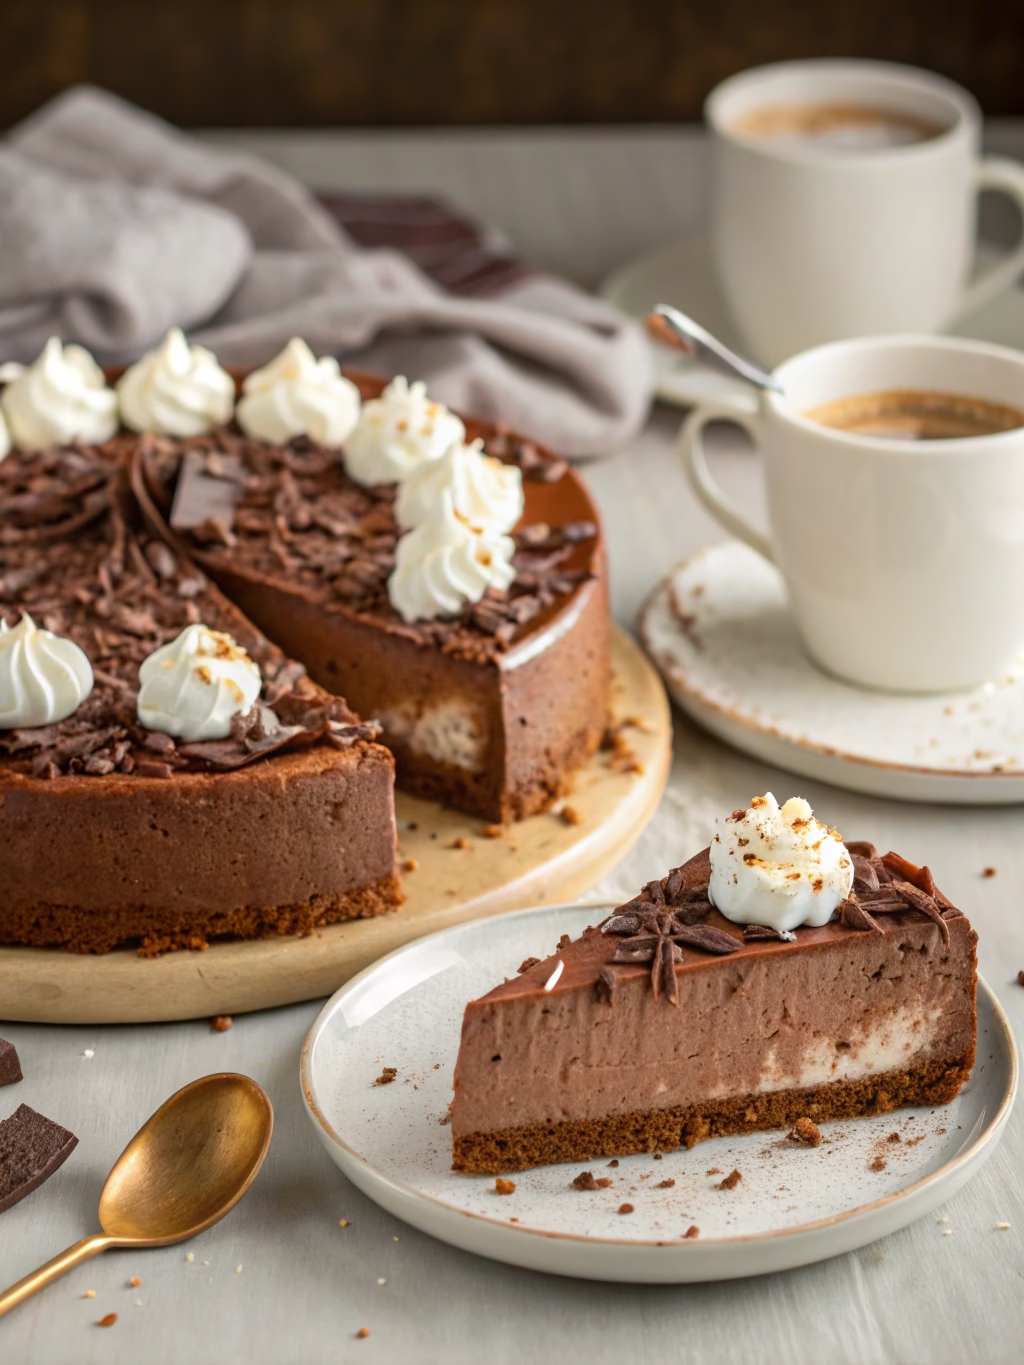
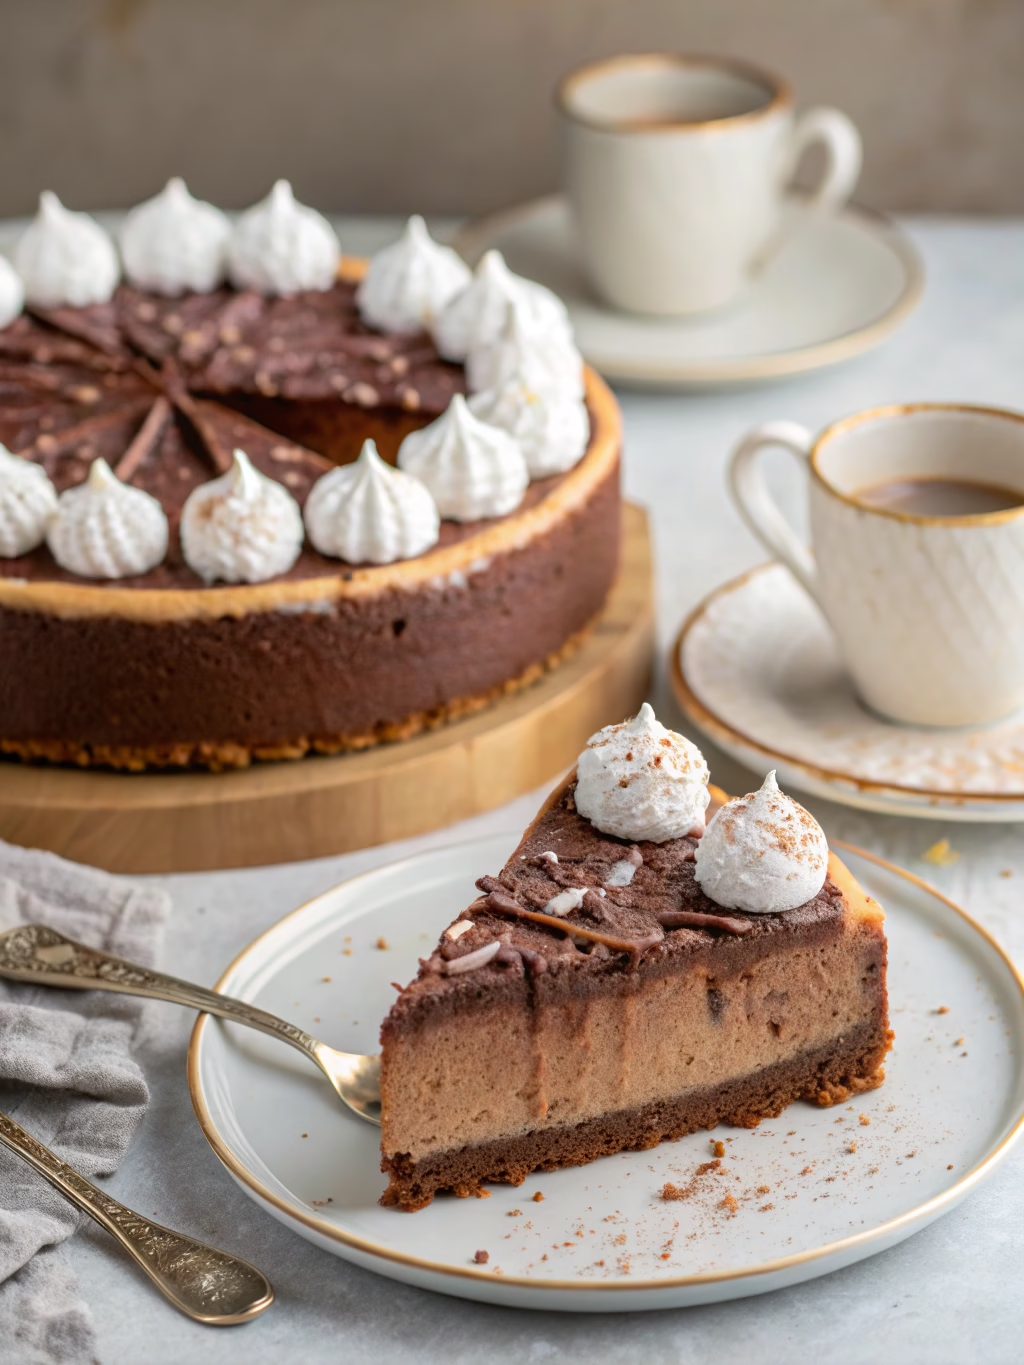
In my years spent navigating the world’s most demanding kitchens, I have learned that the most profound culinary experiences often stem from the simplest memories. Think of a brisk winter’s evening, the world hushed by a blanket of snow, and the comforting warmth of a steaming mug of hot chocolate between your hands. That feeling-that pure, unadulterated comfort-is what we have captured in a slice of dessert. This is not merely a recipe; it is an edible translation of nostalgia. We are going to craft an exceptionally decadent hot chocolate cheesecake, a dessert that marries the sophisticated, velvety texture of a classic cheesecake with the deep, soul-soothing flavor of artisanal hot cocoa. It is a masterpiece of simplicity and elegance. Let us delve into why this creation will undoubtedly become a staple in your dessert repertoire.
Why You’ll Love This Recipe
- A Symphony of Chocolate: This recipe layers chocolate flavors masterfully, from the crisp cookie crust to the rich, cocoa-infused filling, creating an experience that is both intense and impeccably balanced.
- Elegant Yet Effortless: While the final presentation is worthy of a fine dining restaurant, the steps are remarkably straightforward, empowering you to create a show-stopping dessert with confidence.
- The Ultimate Comfort Dessert: It’s the perfect sweet finale for family dinners, holiday gatherings, or any moment that calls for a touch of luxurious comfort. It truly is the ultimate hot chocolate cheesecake experience.
- Versatile and Customizable: Serve it plain for a purely classic taste, or adorn it with marshmallows, whipped cream, and chocolate shavings to fully evoke the hot cocoa theme.
Preparation Time and Servings
This quick-prep recipe means you can have a gourmet dessert ready for the oven in under 30 minutes, making it perfect for both planned events and spontaneous cravings.
⏱️ Preparation Time: 25 minutes
🔥 Cooking Time: 65 minutes
⏰ Total Time: 1 hour 30 minutes (plus minimum 6 hours chilling time)
💡 Difficulty: Easy
👥 Servings: 12 people
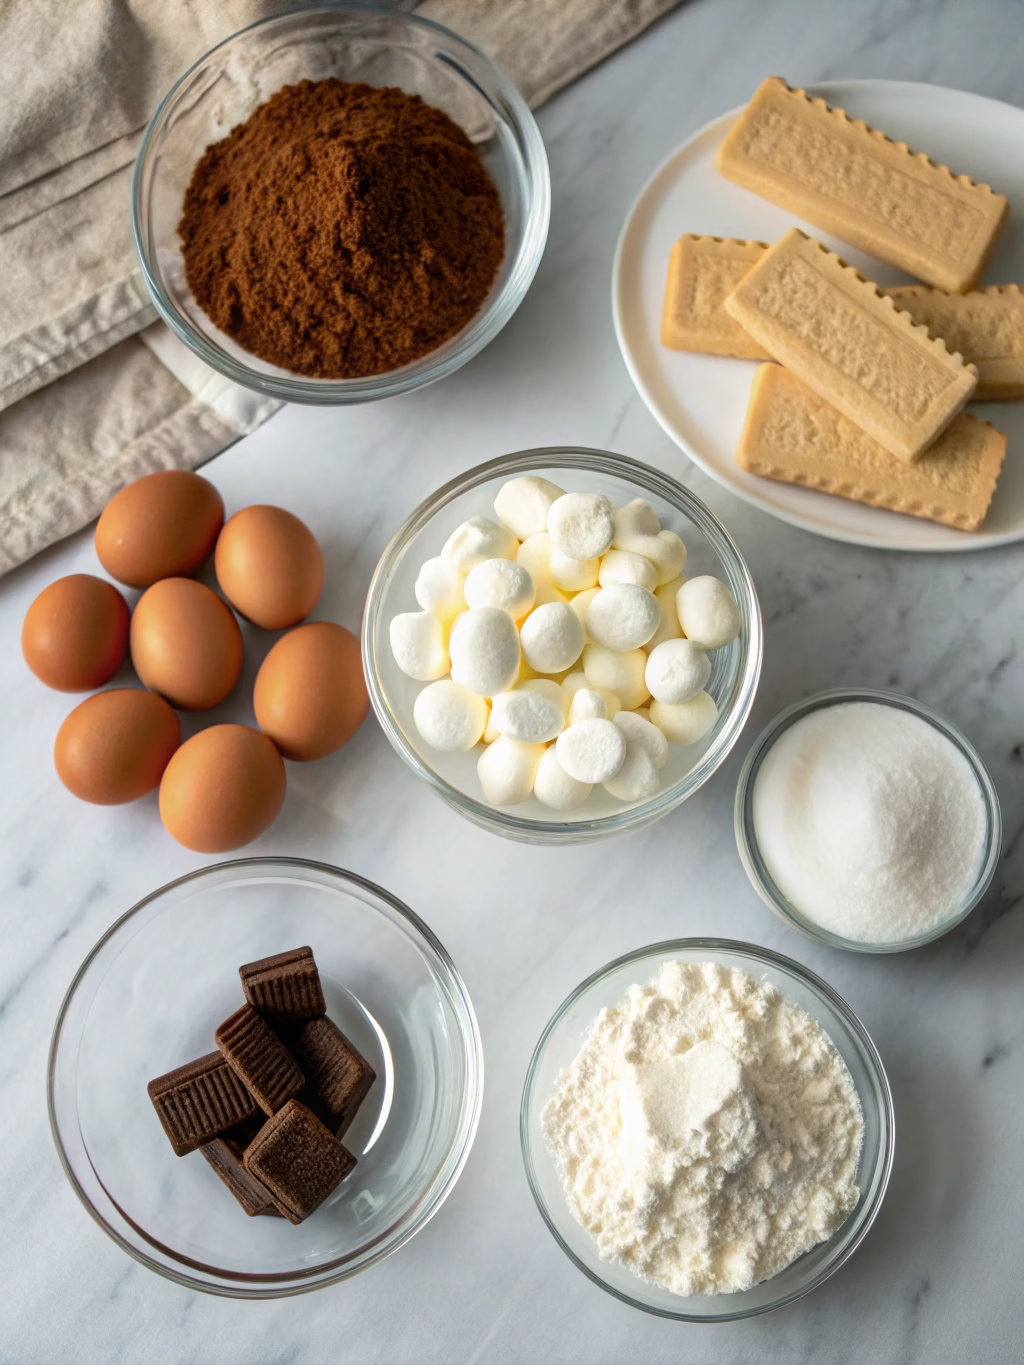
Ingredients List
For the Chocolate Cookie Crust
- 2 cups (225g) chocolate wafer cookie crumbs (about 24 cookies)
- 6 tablespoons (85g) unsalted butter, melted
- 1 pinch of sea salt
For the Cheesecake Filling
- 32 ounces (900g) full-fat block cream cheese, softened to room temperature
- 1 1/2 cups (300g) granulated sugar
- 1/2 cup (50g) high-quality unsweetened cocoa powder, sifted
- 4 large eggs, at room temperature
- 1 cup (240ml) heavy cream, at room temperature
- 1 teaspoon pure vanilla extract
- 4 ounces (115g) semi-sweet chocolate, melted and slightly cooled
For the Topping (Optional)
- Sweetened whipped cream
- Miniature marshmallows
- Chocolate shavings or a dusting of cocoa powder
Step-by-Step Instructions
- Preheat your oven to 325°F (160°C). Tightly wrap the exterior of a 9-inch springform pan with two layers of heavy-duty aluminum foil. This will prevent any water from seeping in during the water bath.
- Combine the chocolate cookie crumbs, melted butter, and salt in a small bowl until the mixture resembles wet sand.
- Press the crumb mixture firmly and evenly into the bottom and slightly up the sides of the prepared pan. Use the flat bottom of a glass to create a compact layer.
- Bake the crust for 10 minutes. Remove from the oven and set it on a wire rack to cool completely as you prepare the filling.
- Beat the softened cream cheese and granulated sugar in the bowl of a stand mixer fitted with the paddle attachment (or with a hand mixer) on medium speed until completely smooth and free of lumps, about 2-3 minutes. Scrape down the sides and bottom of the bowl.
- Sift in the cocoa powder and mix on low speed until just combined. Be careful not to overmix here.
- Add the eggs one at a time, mixing on low speed after each addition until the yolk just disappears. Again, scrape the bowl to ensure everything is incorporated evenly.
- Stir in the heavy cream and vanilla extract on low speed. Finally, fold in the melted semi-sweet chocolate until the batter is uniform in color.
- Pour the rich hot chocolate cheesecake filling over the cooled crust and smooth the top with an offset spatula.
- Place the springform pan into a larger roasting pan. Carefully pour boiling water into the roasting pan until it reaches halfway up the sides of the cheesecake pan.
- Bake for 60-70 minutes. The edges of the cheesecake should be set, but the center will still have a slight jiggle to it. Do not overbake.
- Cool the cheesecake by turning off the oven and cracking the door open. Let the cheesecake cool slowly in the oven for 1 hour. This is a critical step to prevent cracks.
- Remove the cheesecake from the oven and the water bath. Let it cool completely on a wire rack, then cover with plastic wrap and refrigerate for at least 6 hours, but preferably overnight.
- Garnish before serving. Run a thin knife around the edge of the pan before releasing the springform side. Top with whipped cream, mini marshmallows, and chocolate shavings.
Expert Tips for a Perfect Hot Chocolate Cheesecake
- Room Temperature is Non-Negotiable: For the smoothest, most luxurious filling, your cream cheese, eggs, and heavy cream must be at true room temperature. This allows them to emulsify properly, which is the secret to a perfect texture.
- Embrace the Water Bath: While it may seem like an extra step, a water bath (bain-marie) is the professional’s secret to an impeccably creamy cheesecake with a pristine, crack-free surface. It creates a humid environment in the oven for gentle, even cooking.
- Low and Slow Mixing: After adding the eggs, keep your mixer on a low speed. Incorporating too much air is the primary culprit behind cheesecake cracks. We are aiming for dense and creamy, not light and airy. Patience during this stage pays dividends.
- Respect the Chill Time: The overnight chill is not just for cooling; it is when the cheesecake sets and the flavors meld and deepen. A properly chilled slice will be firm, rich, and taste profoundly better. Do not rush this final, crucial step.
Common Mistakes to Avoid
Prevent common issues with these simple tips:
- Overmixing the batter: This leads to a dense, tough texture instead of a light and fluffy one.
- Incorrect oven temperature: Always use an oven thermometer for accuracy, as ovens can vary.
- Skipping the resting time: This step is crucial as it allows flavors to meld and improves the final texture.
- Using the wrong pan size: This can significantly affect cooking time and the final presentation.
Storing Tips for the Recipe
To preserve the integrity and flavor of your creation, proper storage is essential.
- Refrigeration: Store the cheesecake covered or in an airtight container in the refrigerator for up to 5 days. For the best flavor and texture, let a slice sit at room temperature for 15-20 minutes before serving.
- Freezing: This cheesecake freezes beautifully. Wrap individual slices tightly in plastic wrap, then a layer of aluminum foil. Freeze for up to 2 months. Thaw overnight in the refrigerator for best results.
- Make-ahead option: The entire cheesecake can be prepared, baked, and chilled up to 2 days in advance, making it a perfect dessert for stress-free entertaining. Simply add the toppings just before serving.
Frequently Asked Questions (FAQs)
Can I use a different type of crust for this hot chocolate cheesecake?
Absolutely. While the chocolate wafer crust enhances the deep cocoa flavor, a classic graham cracker crust would provide a delightful honey-cinnamon contrast. For a more buttery, crumbly base, a shortbread crust is also an excellent choice. Simply substitute the chocolate wafers with your preferred cookie.
Why did my cheesecake crack?
Cracks are the nemesis of many bakers, but they are almost always preventable. The most common causes are overmixing the batter (especially after adding eggs), baking in an oven that is too hot, or cooling the cheesecake too rapidly. Using a water bath, ensuring all ingredients are at room temperature, and following the slow cooling process outlined in the recipe are the best defenses against a cracked surface.
Conclusion
Transforming a cherished beverage into an elegant dessert is a form of culinary magic. This recipe for **hot chocolate cheesecake** is more than just a list of instructions; it is an invitation to create a moment of pure, decadent joy. It is simple to prepare, deeply satisfying, and guaranteed to impress. I urge you to craft this dessert in your own kitchen. Don’t forget to share this creamy cheesecake with your friends!
Contact Us
Contact us at [email protected] and we’ll get back to you as soon as possible.
Share your experience with us
OOLALA
This turned out so awesome they look like they came from a exspensive bakery.
Just a question
So what about the grease from the meat? Should I use the leanest meats or is the grease give more flavor.
What about a meatloaf on top of veggies ? Would that work?
Ingredients list good, directions lacking
There were great details on quantities of ingredients I should use, but the recipe didn’t tell me the cook time. Also, mentioned in the section about “common mistakes” that you need to let it chill enough but doesn’t direct you in the recipe that you need to let it chill. More details would be helpful
Dressing is perfect!
Not a big fan of mayo, loved the Greek yogurt swap. Reduced garlic a bit. Dressing was delish!
Best coffee cake- ever!!
This recipe was not the easiest to follow due to how it was written. It requires a lot of back and forth from instructions to the lists of ingredients but oh, hey, the end result is totally worth the effort! Mouthwatering and delicious plus it’s a pretty presentation.