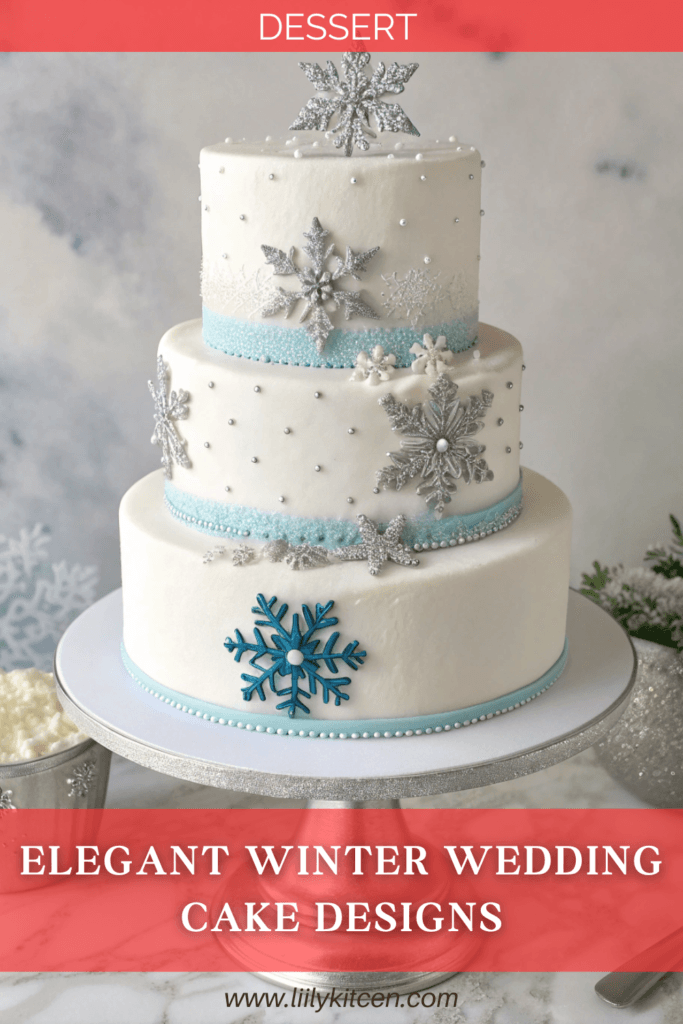
Winter Wedding Cake Designs – Elegant Seasonal Inspiration
Introduction
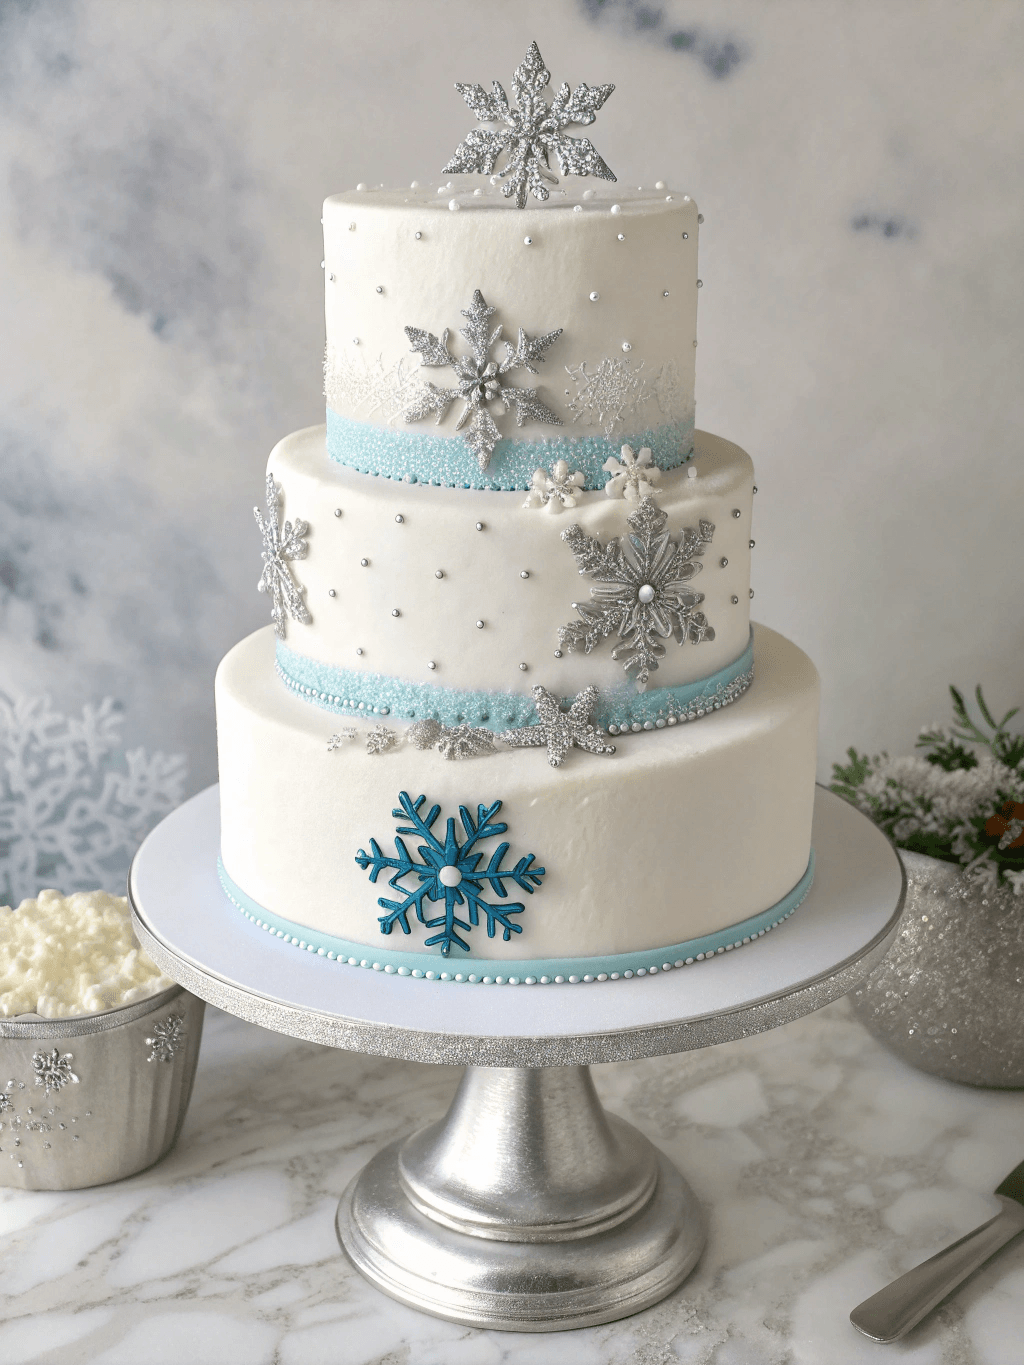
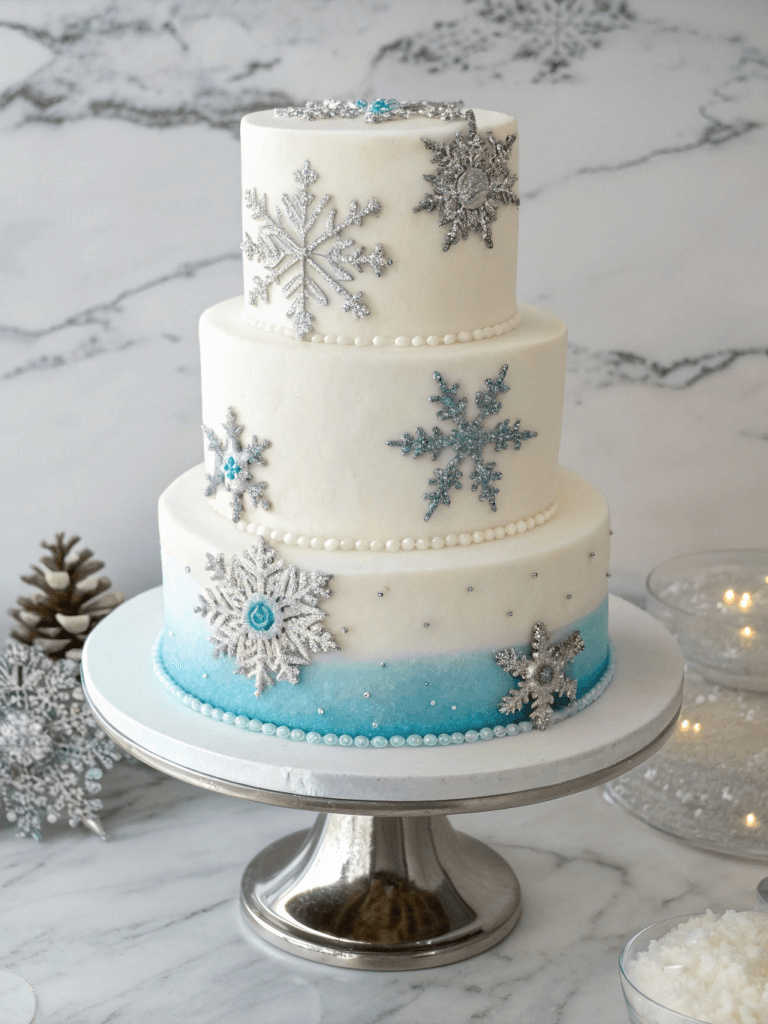
When it comes to celebrating love in the frosty months, Winter wedding cakes are the epitome of elegance and charm. These stunning centerpieces not only satisfy the sweet tooth but also capture the magical essence of the season. From delicate snowflakes to icy blue fondant and silver accents, winter-themed cakes offer a plethora of design possibilities. Let’s dive into the world of winter wedding cakes snowy wedding cake ideas winter wonderland wedding cake blue winter wedding cakes snow cake designs Christmas wedding cake and create a masterpiece that will leave your guests in awe.
Why is it Perfect for You?
A winter wedding cake is perfect for couples who want to embrace the season’s beauty in their celebration. It adds a touch of whimsy and sophistication to your reception, creating a focal point that guests will remember long after the last dance. Whether you’re planning a cozy indoor affair or a magical outdoor winter wonderland, this cake will complement your theme perfectly.
Ingredients List
◾ 3 cups all-purpose flour
◾ 2 cups granulated sugar
◾ 1 cup unsalted butter, softened
◾ 4 large eggs
◾ 1 cup milk
◾ 2 teaspoons vanilla extract
◾ 1 tablespoon baking powder
◾ 1/2 teaspoon salt
◾ White fondant
◾ Silver edible glitter
◾ Blue food coloring
◾ Snowflake-shaped cookie cutters
Preparation Time and Servings
Prep Time: 1 hour, Cook Time: 35 minutes, Total Time: 1 hour 35 minutes, Servings: 50
Step-by-Step Instructions
Step 1: Prepare the Cake Batter
In a large mixing bowl, cream together the softened butter and sugar until light and fluffy. This process, known as “creaming,” incorporates air into the mixture, resulting in a lighter cake texture. Gradually add the eggs, one at a time, beating well after each addition. In a separate bowl, sift together the flour, baking powder, and salt. Alternately add the dry ingredients and milk to the butter mixture, beginning and ending with the dry ingredients. Finally, stir in the vanilla extract.
Step 2: Bake the Cake Layers
Preheat your oven to 350°F (175°C). Grease and flour three 9-inch round cake pans. Divide the batter evenly among the prepared pans. Bake for 25-30 minutes, or until a toothpick inserted into the center comes out clean. Allow the cakes to cool in the pans for 10 minutes before transferring them to a wire rack to cool completely.
Step 3: Prepare the Fondant
Roll out the white fondant on a clean, powdered sugar-dusted surface. Carefully drape the fondant over each cooled cake layer, smoothing it gently to avoid air bubbles. Trim excess fondant from the edges.
Step 4: Create Winter Decorations
Using blue food coloring, tint a portion of the remaining fondant to create various shades of blue. Roll out the colored fondant and use snowflake-shaped cookie cutters to create delicate snowflake decorations. Dust these with silver edible glitter for a sparkling effect.
Step 5: Assemble and Decorate
Stack the cake layers, securing them with a small amount of buttercream between each layer. Arrange the fondant snowflakes on the cake, varying the sizes and shades of blue for a stunning winter effect. Add final touches with silver dragées or edible pearls to complete your winter wedding cake masterpiece.
Nutritional Information
This winter wedding cake is a indulgent treat meant for special occasions. While it’s not a low-calorie dessert, it’s perfect for sharing and celebrating.
Calories per Person
Approximately 300-350 calories per serving.
Healthier Alternatives for the Recipe
For a healthier version, consider using whole wheat flour for half of the all-purpose flour. You can also reduce the sugar content by 1/4 cup and replace some of the butter with applesauce for a lighter cake.
Serving Suggestions
Serve this stunning winter wedding cake as the centerpiece of your dessert table. Pair it with hot chocolate or spiced cider for a cozy winter feel. Consider adding a cake topper that matches your winter theme for an extra special touch.
Common Mistakes to Avoid
Avoid overmixing the batter, which can result in a tough cake. When working with fondant, be gentle to prevent tearing. Don’t rush the cooling process, as decorating a warm cake can lead to melting and sliding fondant.
Storing Tips for the Recipe
Store any leftover cake in an airtight container at room temperature for up to 3 days. For longer storage, refrigerate for up to a week or freeze for up to 3 months. Bring to room temperature before serving.
FAQs
Can I make this cake in advance?
Yes, you can bake the cake layers up to a week in advance. Wrap them tightly in plastic wrap and freeze until ready to decorate.
How do I transport a winter wedding cake?
Use a sturdy cake box and non-slip mat. If possible, assemble the cake at the venue to avoid damage during transport.
Can I use buttercream instead of fondant?
Absolutely! Buttercream can create beautiful winter textures and is often easier to work with for beginners.
How do I achieve the perfect shade of icy blue?
Start with a tiny amount of blue food coloring and gradually add more until you reach the desired shade. Remember, you can always add more, but you can’t take it away.
What if I don’t have snowflake cookie cutters?
You can create snowflakes by hand using small fondant tools or even toothpicks. Alternatively, you can use paper templates to cut out fondant snowflakes.
Conclusion
Creating a winter wedding cake is an art that combines baking skills with a touch of seasonal magic. With these tips and techniques, you’ll be able to craft a stunning centerpiece that captures the essence of your winter celebration. Remember, practice makes perfect, so don’t be afraid to experiment with designs and flavors to create your unique winter wonderland on a cake.
Contact Us
Contact us at [email protected] and we’ll get back to you as soon as possible.
Share your experience with us
OOLALA
This turned out so awesome they look like they came from a exspensive bakery.
Just a question
So what about the grease from the meat? Should I use the leanest meats or is the grease give more flavor.
What about a meatloaf on top of veggies ? Would that work?
Ingredients list good, directions lacking
There were great details on quantities of ingredients I should use, but the recipe didn’t tell me the cook time. Also, mentioned in the section about “common mistakes” that you need to let it chill enough but doesn’t direct you in the recipe that you need to let it chill. More details would be helpful
Dressing is perfect!
Not a big fan of mayo, loved the Greek yogurt swap. Reduced garlic a bit. Dressing was delish!
Best coffee cake- ever!!
This recipe was not the easiest to follow due to how it was written. It requires a lot of back and forth from instructions to the lists of ingredients but oh, hey, the end result is totally worth the effort! Mouthwatering and delicious plus it’s a pretty presentation.